No products
Prices are tax included

HINTS, TIPS and general guide to get the best from the kit
Dec 2025 Launch of the SWORKz S12-3C and D variants.
After many years since our last build blog we undertook this project over the period of a few days here at Answer-RC. Armed with MIP drivers and XTR Racing Oils we were set to go!
Stage 1 is the opening of the box which is very nice as far as boxes go with the SWORKz sleek styling and RED passion showing strongly
The Box
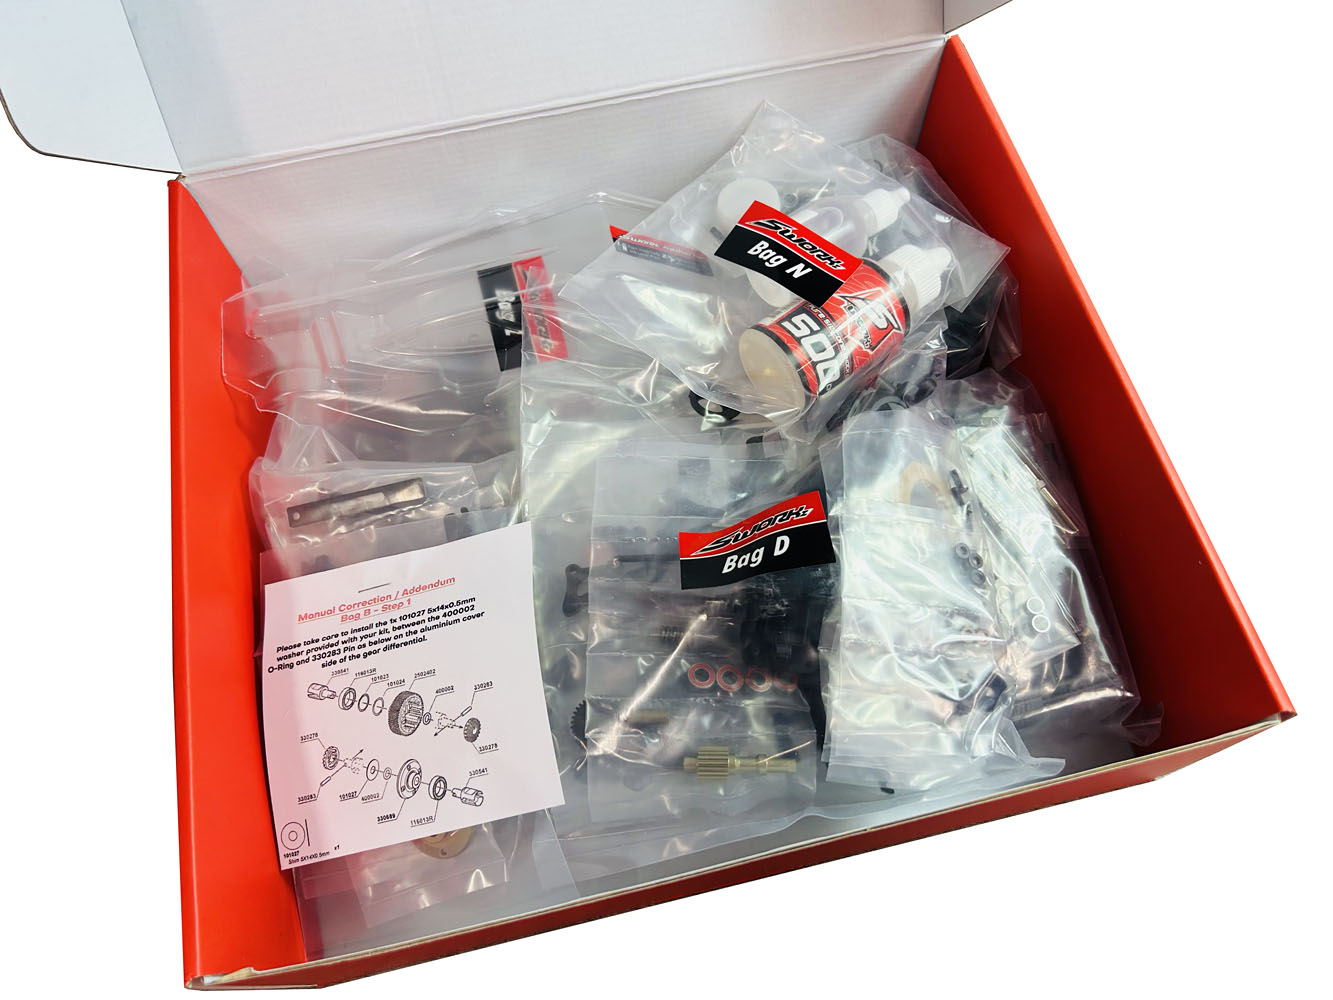
Upon opening the box we are greeted with a mulitude of bags - all sorted by Letter - with some including subsections
Bag A - Instructions and decals
Quite possibly this is the fastest build bag EVER! - it includes instructions and decals, this is one part of the build that you don't need to think about in the slightest.
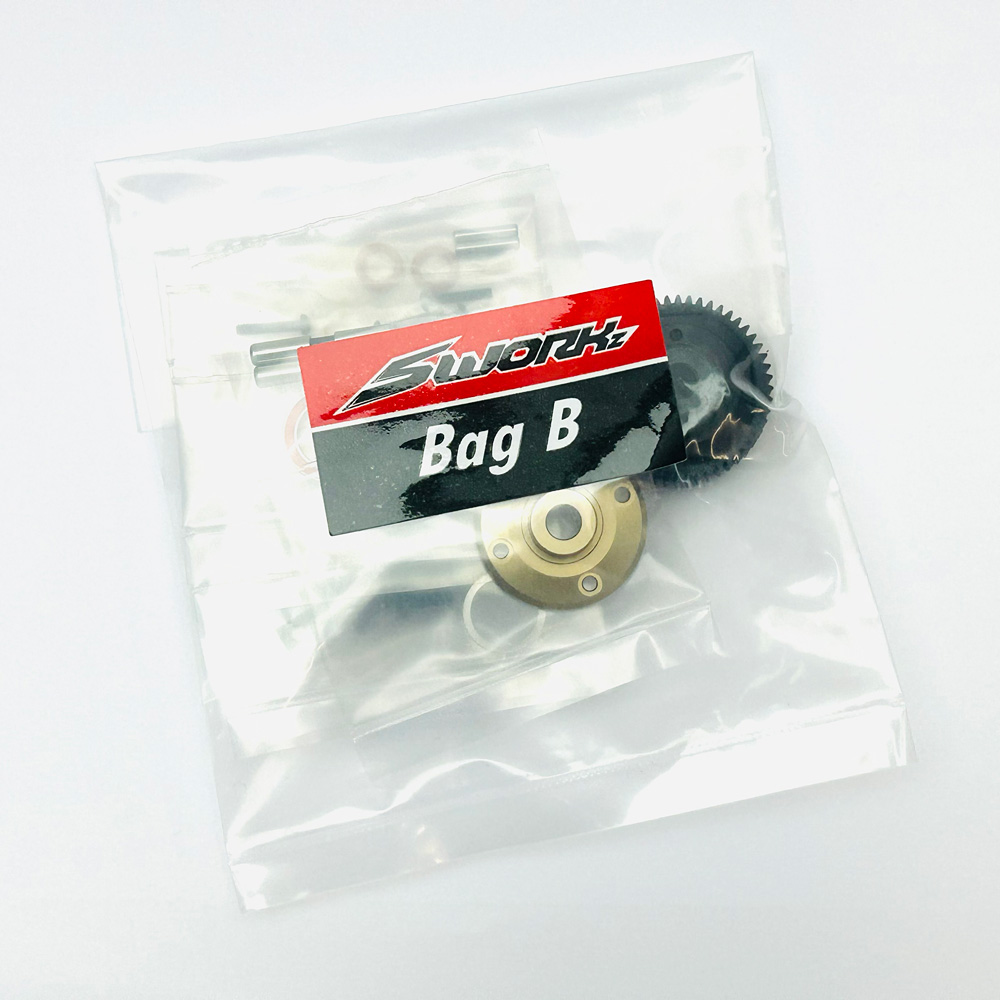
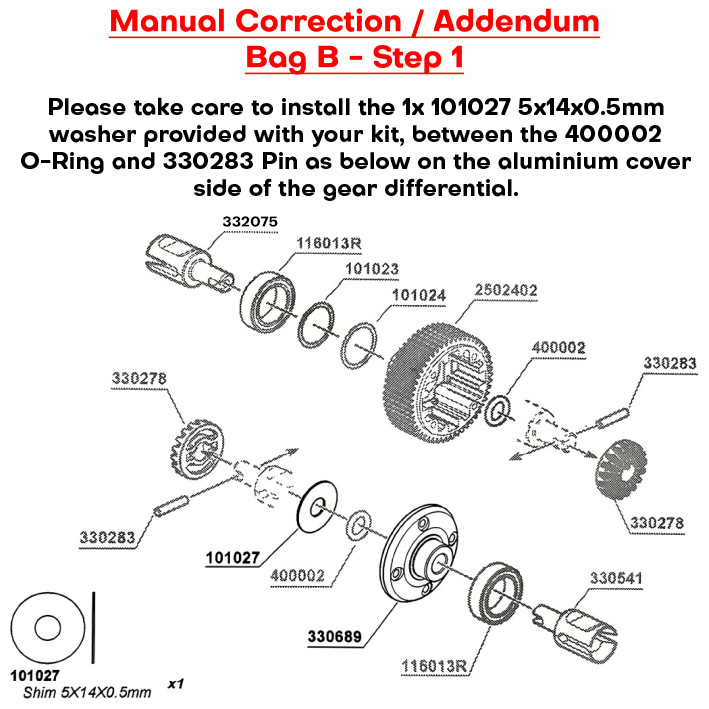
Bag B - Differential
NOTE - for the S12-3D Bag B will be the ball diff - SWORKz S12 Series Complete PRO Ball Differential this is fully interchangable with the gear diff when running on lower grip tracks.
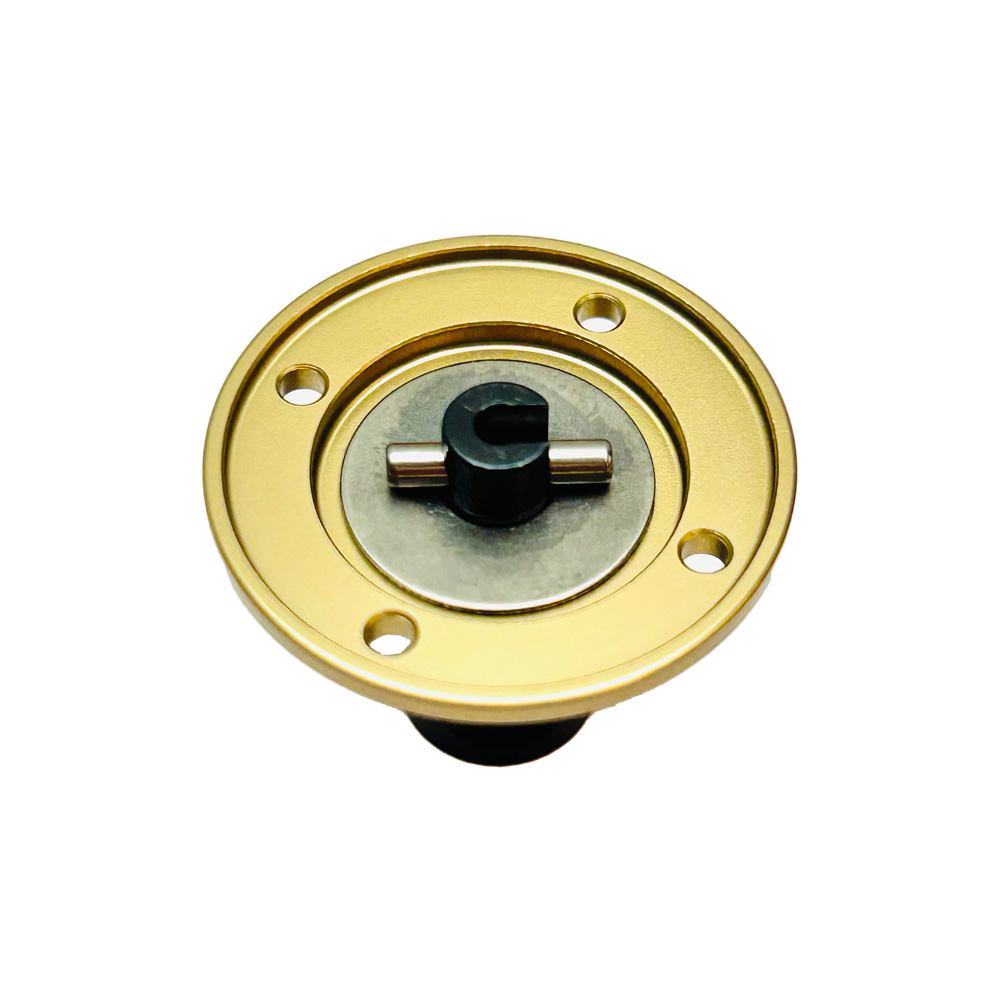
The S12-3C now includes the aluminium diff plate SW-330689 that was a preferred option on the S12-1 and 2. Good to see this in there now!
One point of note On the S12-3C (Carpet) car, the manual doesn’t show the supplied 1x SW-101027 5x14x0.5mm Shim that should be installed between the SW-400002 O-Ring and SW-330283 Pin, which should be installed on the Aluminium Diff Cover Plate side of the gear differential. We built the diff in 2 gear configuration rather than the illustrated 4 gear, and used 50,000CPS XTR Diff Oil and also used the tried and tested XTR Lithium Grease on the diff outdrives (XTR-0143).
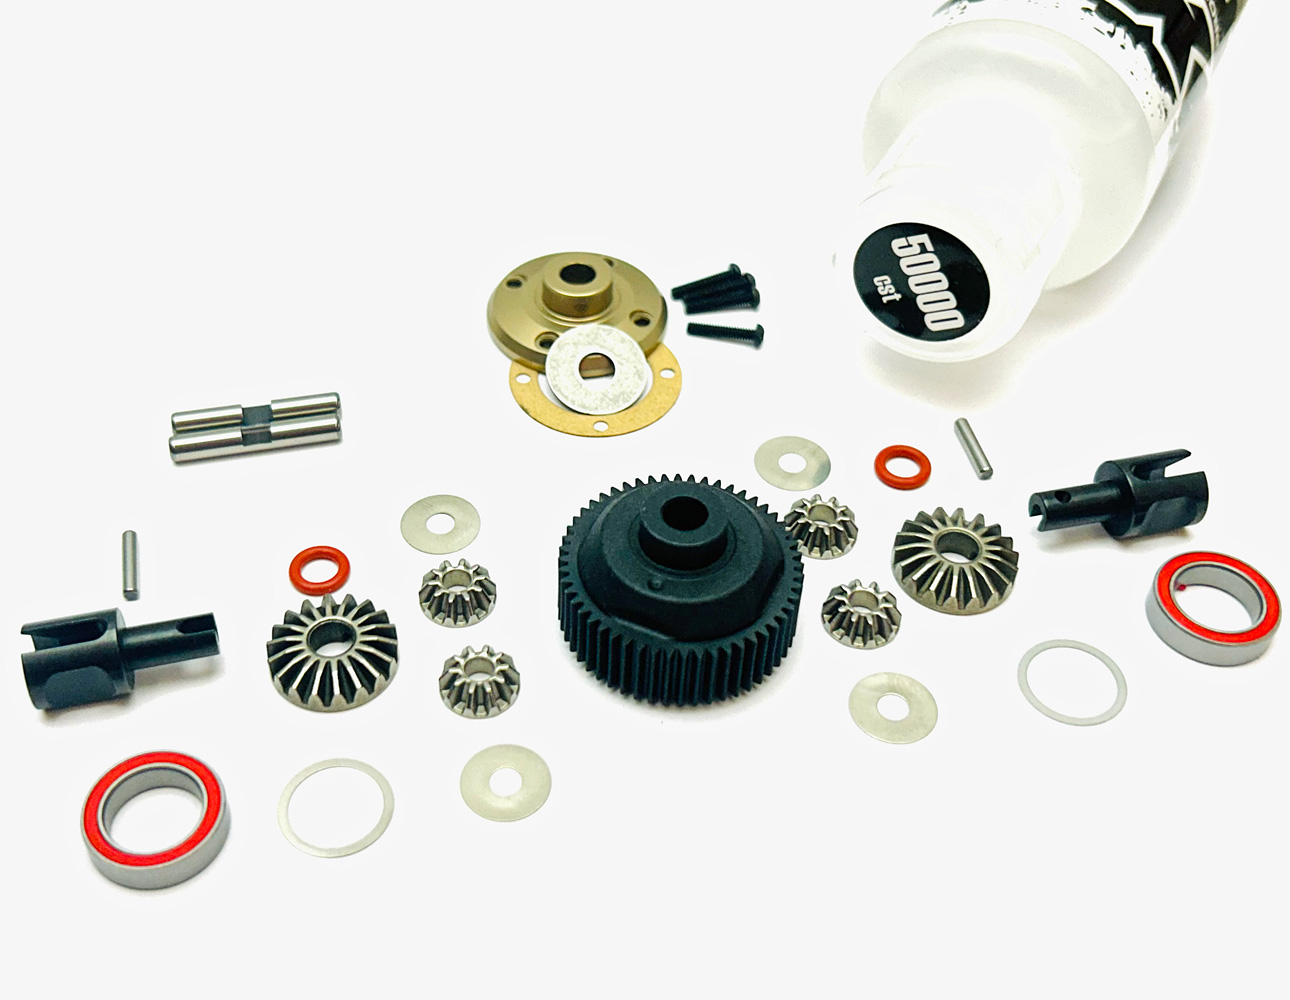
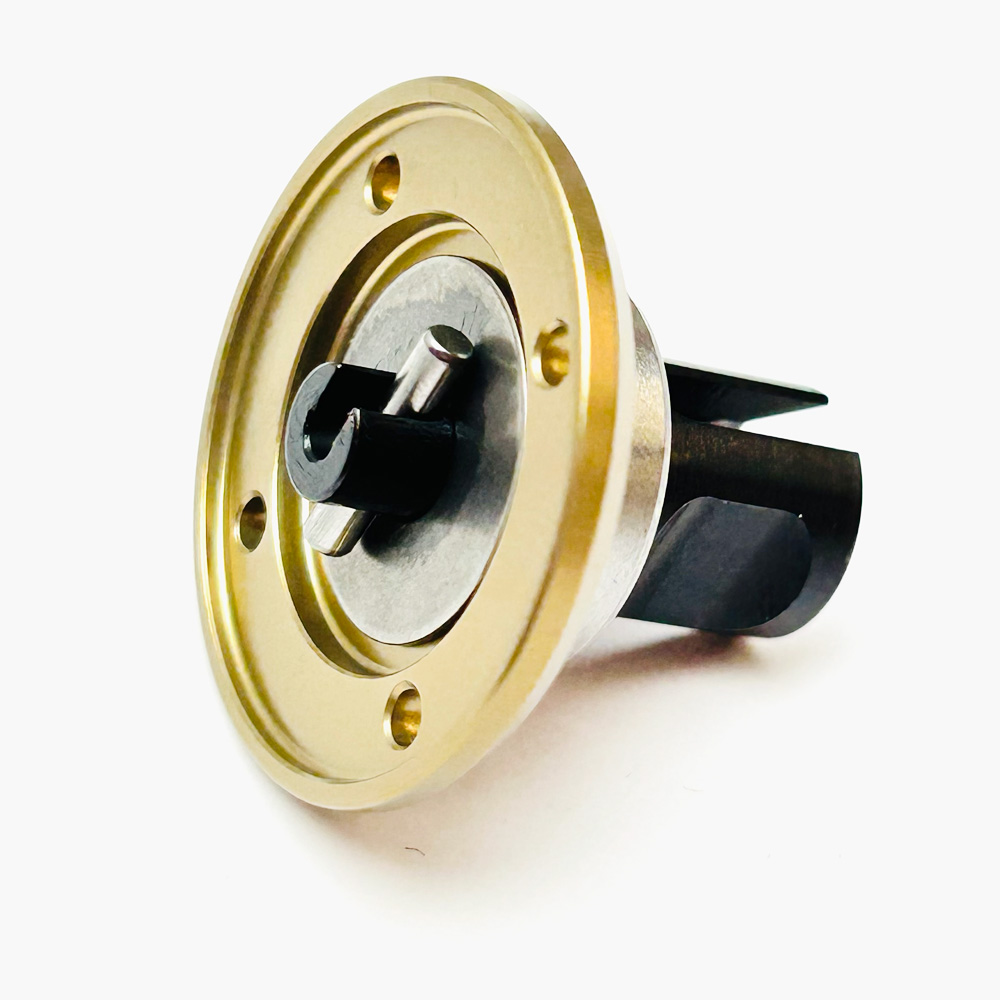

Once built the diff was rather lovely and uses a new material on the case than that S12-1 and S12-2 as well as new outdrives.
The nee diff gear is SW2502402C SWORKz S12 Series Pro-composite Carbon Diff Case Set which is totally backwards compatible and far harder and lower friction than the older variant
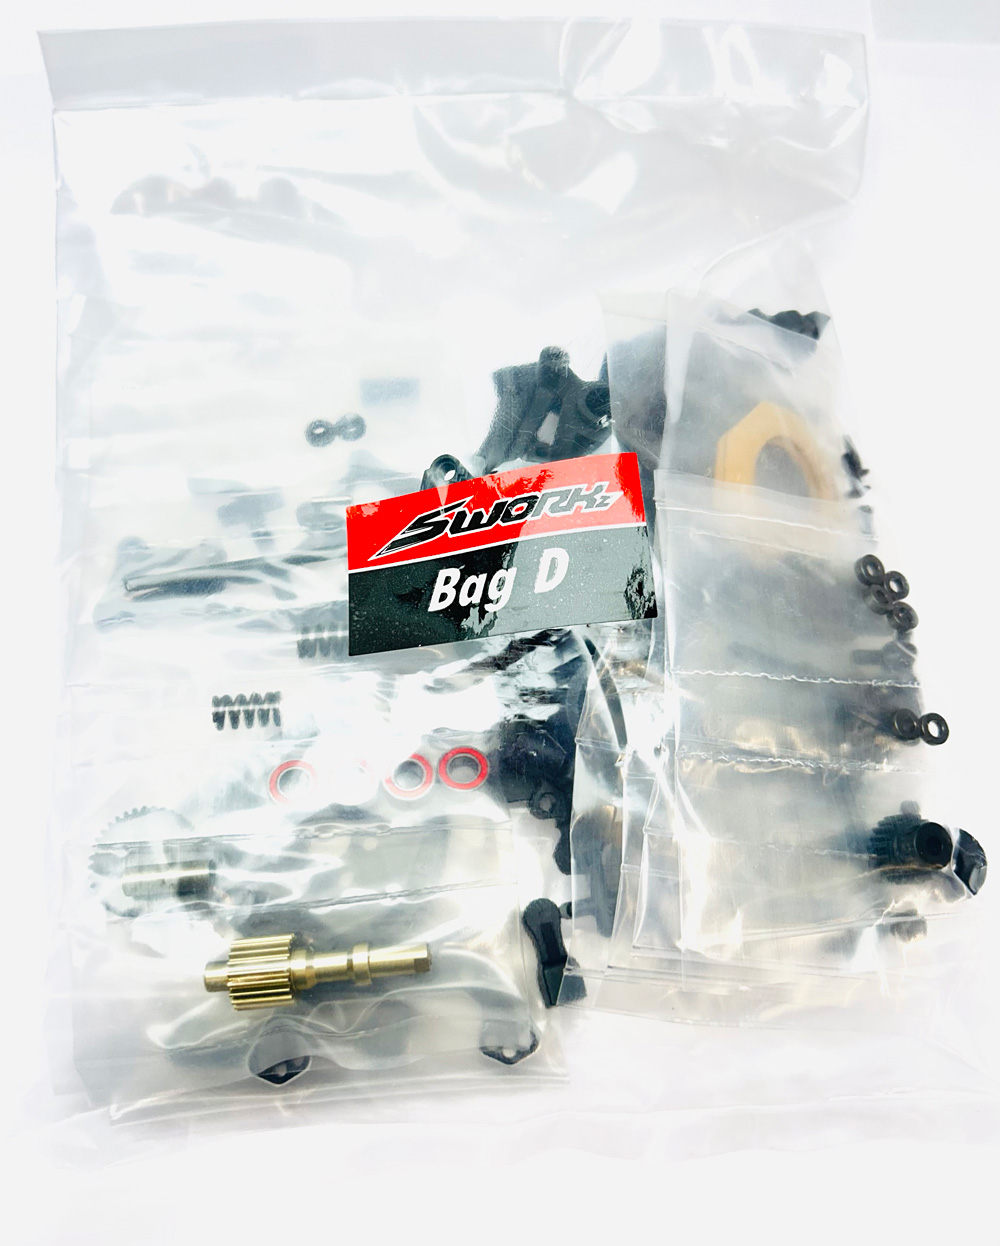
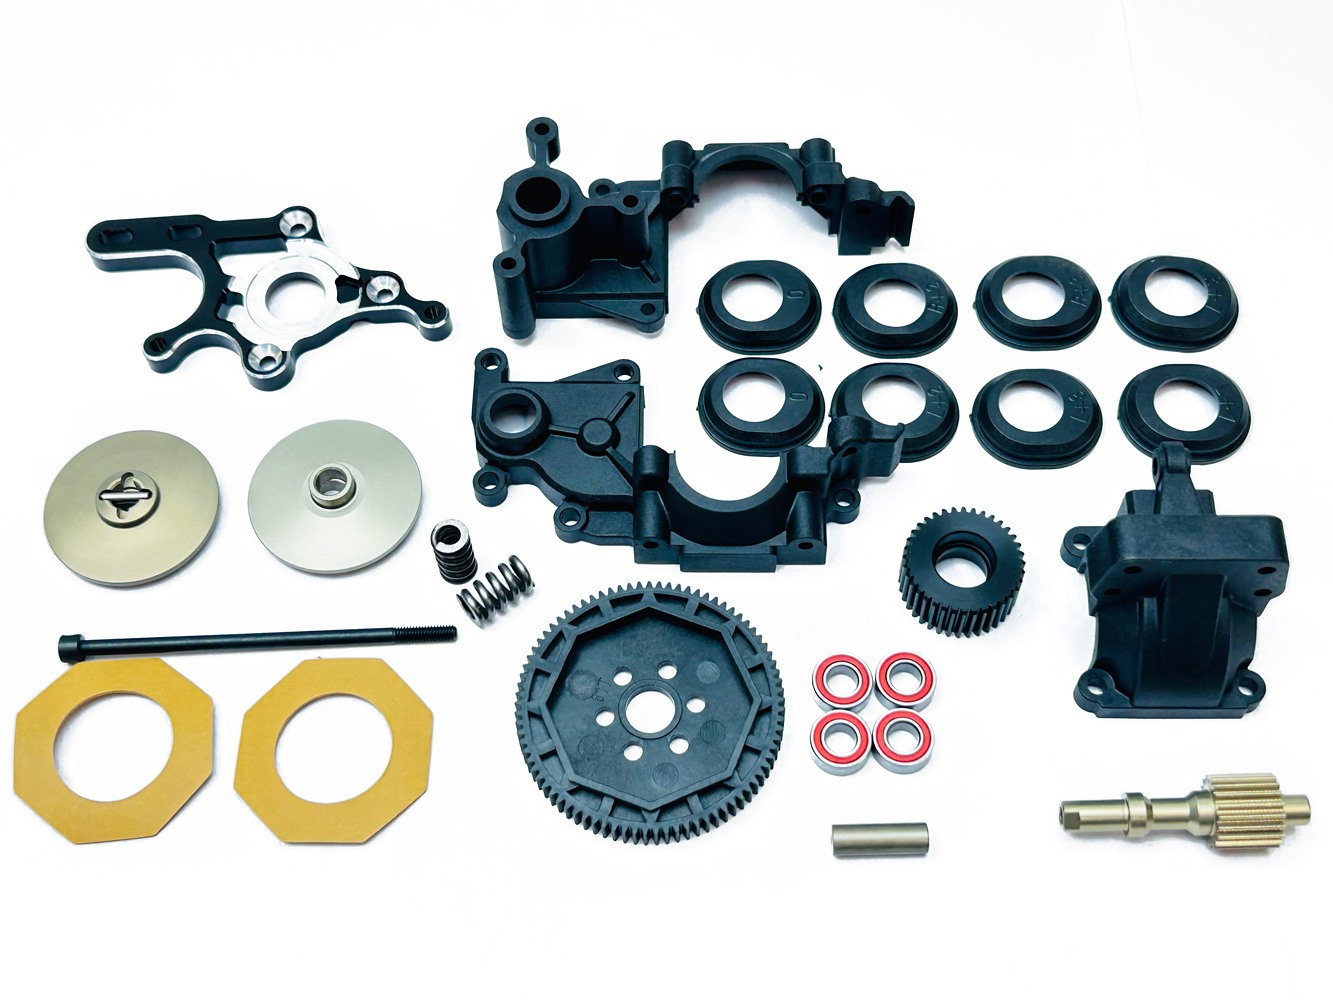
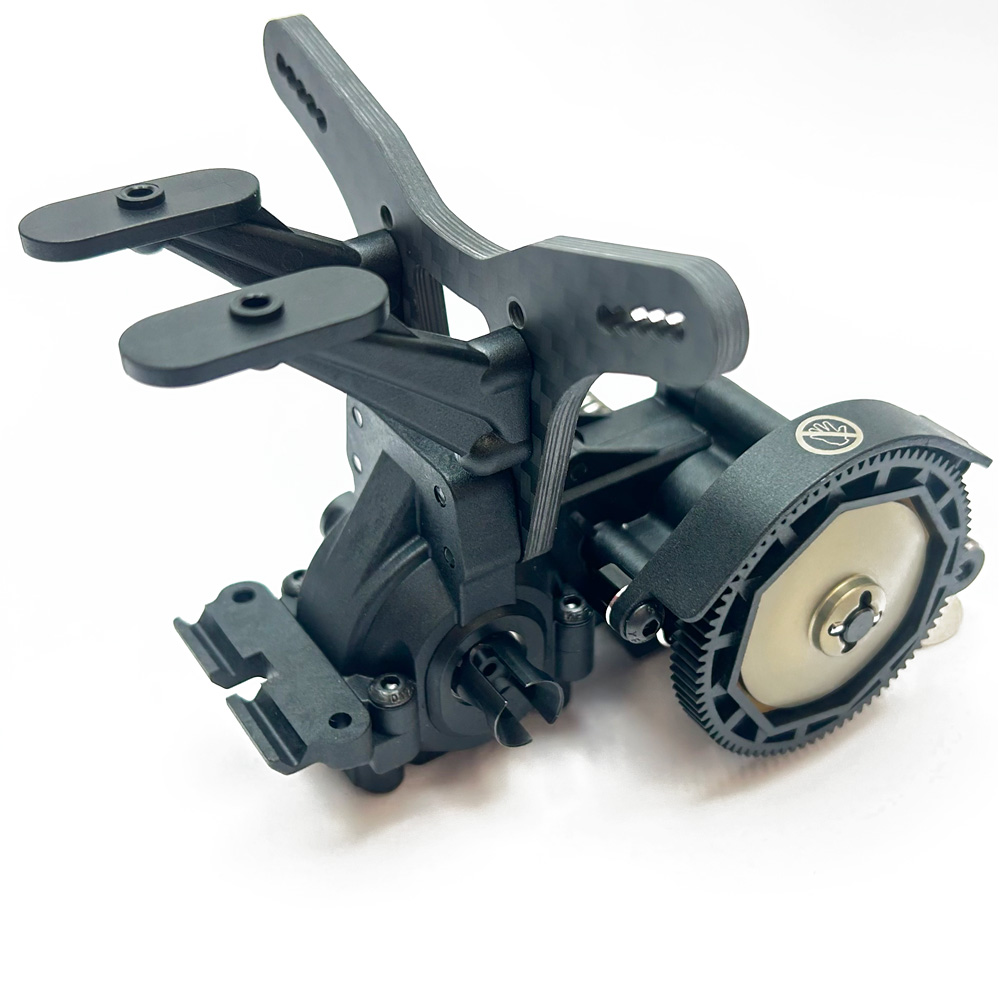
Bag D - Gearbox & Slipper Clutch
Step 3
We found it easier to assemble the slipper clutch after both halves of the gearbox had been screwed together (After Step 5), as everything in the gearbox was better held in place so we could concentrate on making sure all the parts of the slipper clutch were properly aligned.
Step 5
The manual shows to install 1x SW-106008 M3x12mm BH Screw, but this needed to be installed in Step 7 to secure the SW-220041-3D Gearbox Cover, so to save removing this, leave it out until you attach the cover.
The kit comes supplied with 2x slipper springs, a softer 1.4mm wire diameter (SW-115188) and a stiffer 1.6mm wire diameter (SW-115189). We used the stiffer 1.6mm diameter spring, which will offer more positive adjustments better suited to high-grip tracks.
Step 7
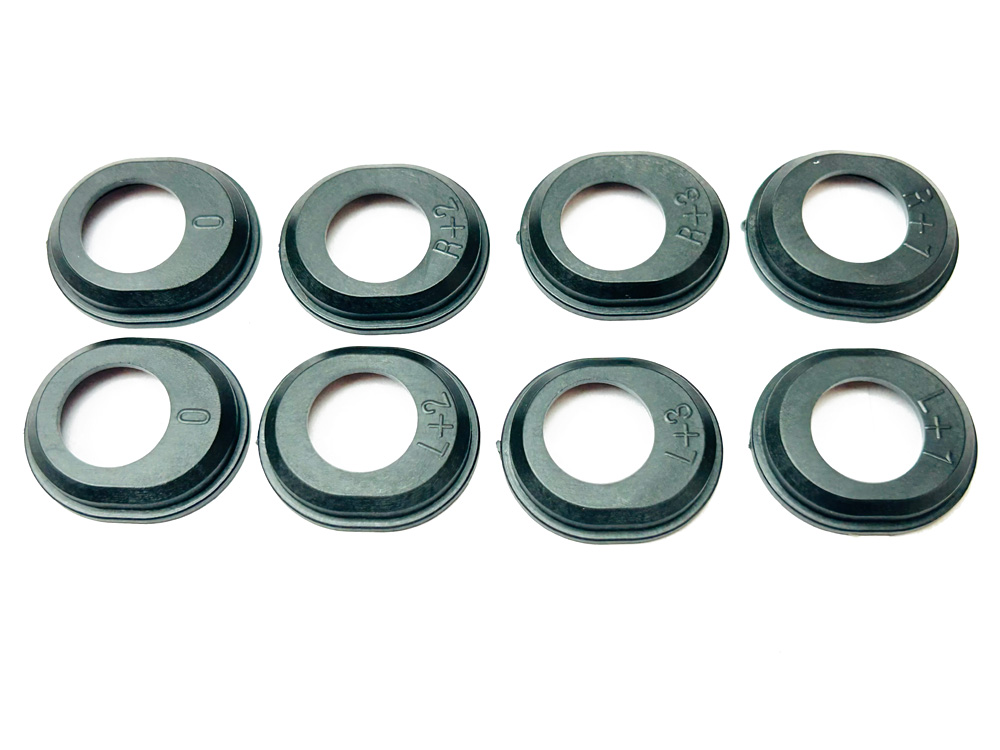
Pay attention to the orientation of the gearbox inserts, these are sided/offset and if installed incorrectly you won’t be able to install the diff. “L” is installed on the left hand side, looking from the rear of the car, “R” onto the right and side, looking from the rear of the car – When you know, you know!
Step 8 - motor screws - top tip!
The kit suggests using 2x SW-106001 M3x8mm BH screws, and 2x SW-101026 1.5mm Washers to secure the motor. Unfortunately, the M3x8mm screws were not long enough to properly secure our chosen motor to the motor mount plate as securely as we would like when using the supplied 1.5mm thick washers. We suggest using longer screws or removing/substituting the washers. We ended up using 2x M3x10 Counter-Sunk Screws along with 2x SW-101020A Countersunk washers, but it would be best to check with your specific motor, as too long can cause damage.
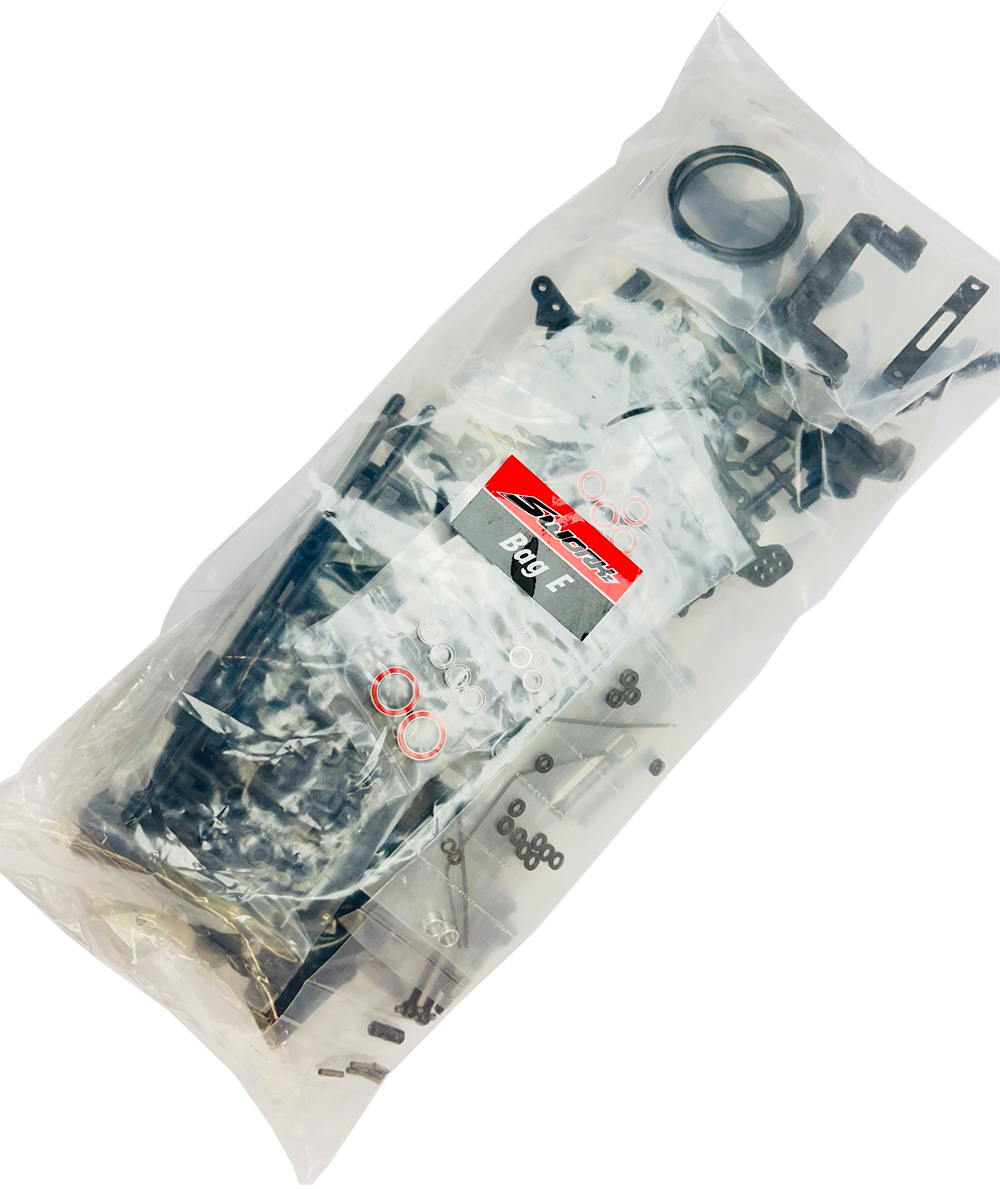
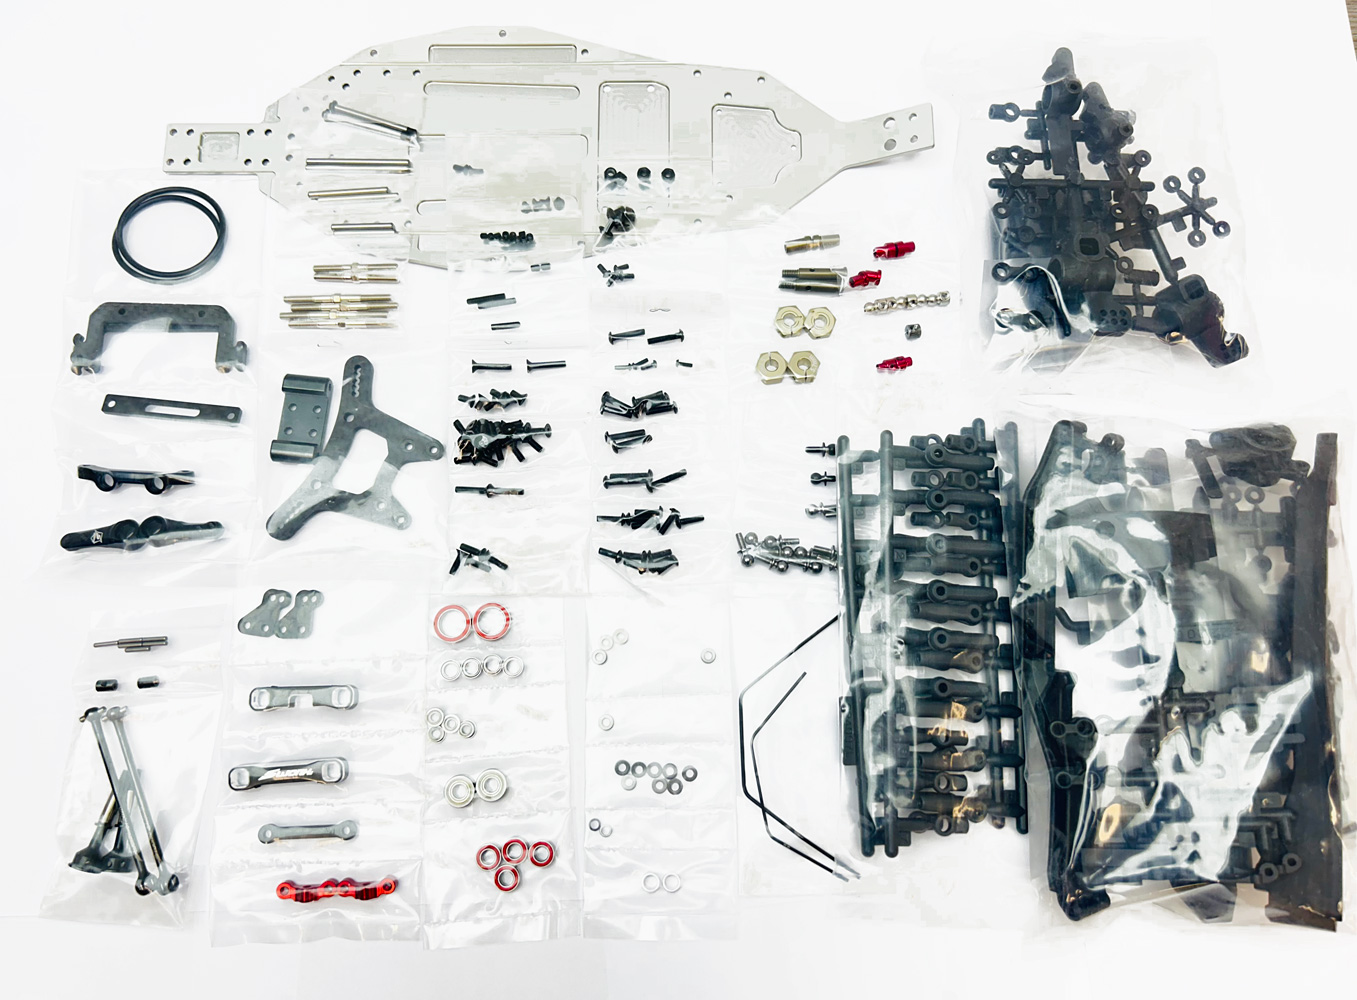
Bag E - Chassis / Steering / Servo / Front Suspension / Rear Suspension & Turnbuckles
Bag E is one BIG bag as its basically the majority of the car; in one bag! So make sure you get your old takeaway tubs at the ready, sort everything as logically as possible and just work your way through it. This is FAR slower than Bag A at the top of this page!
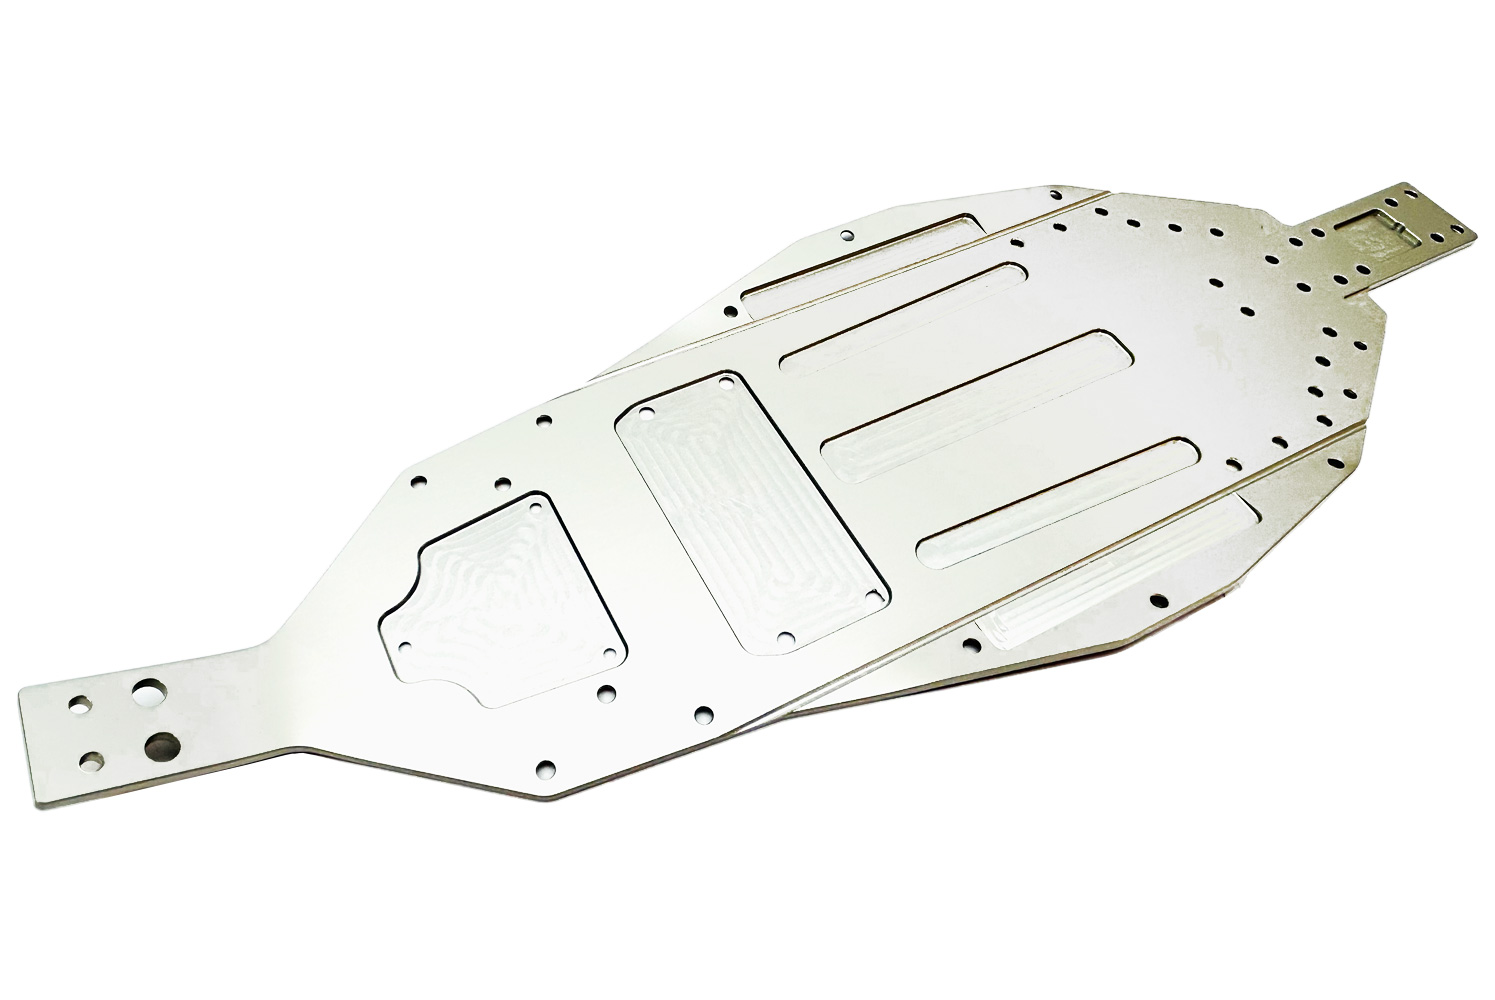
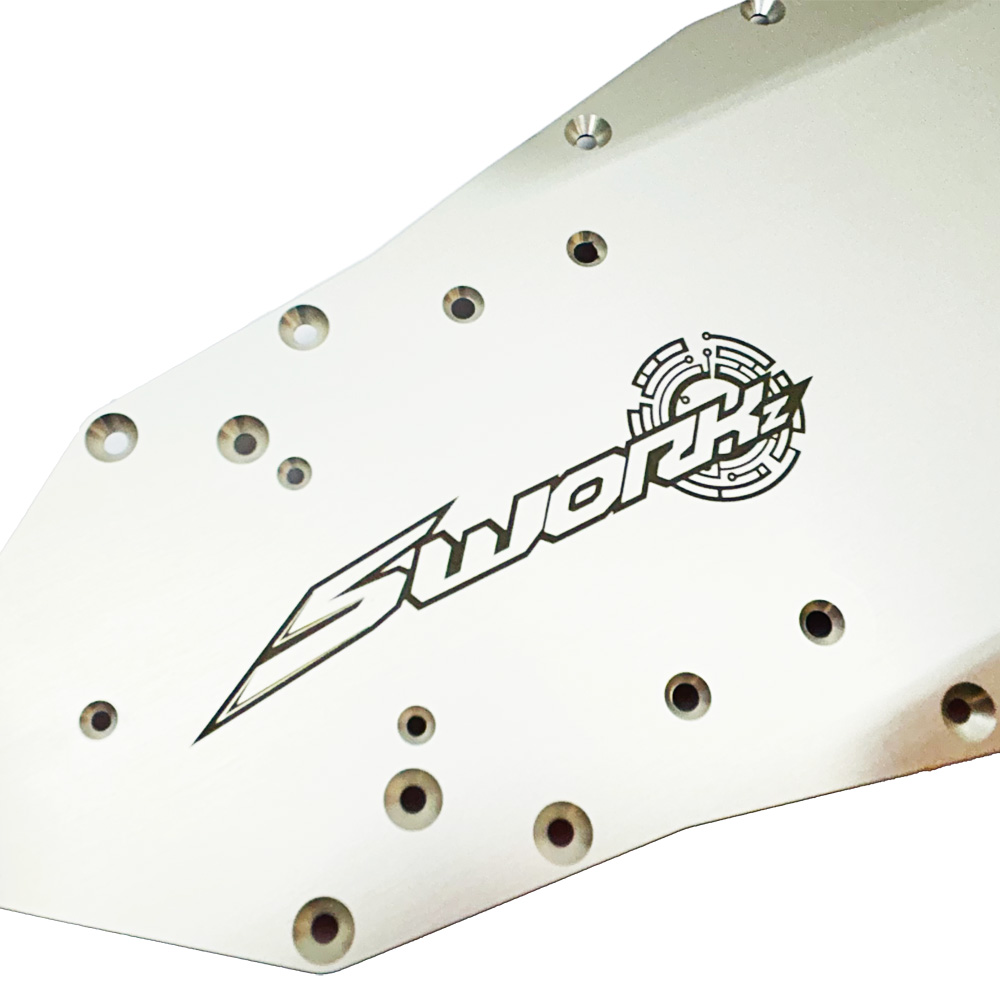
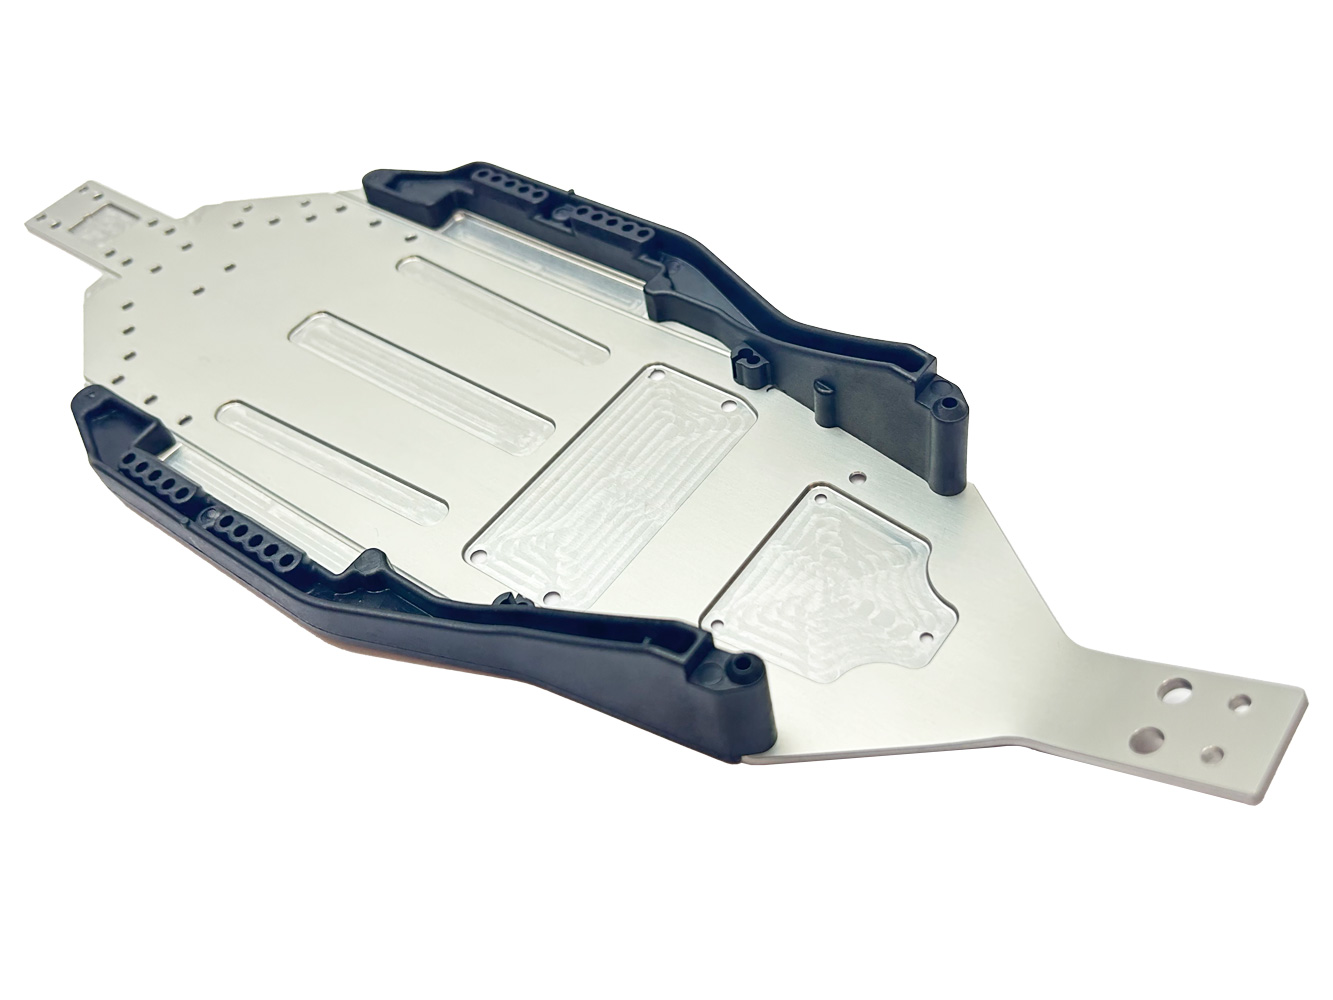
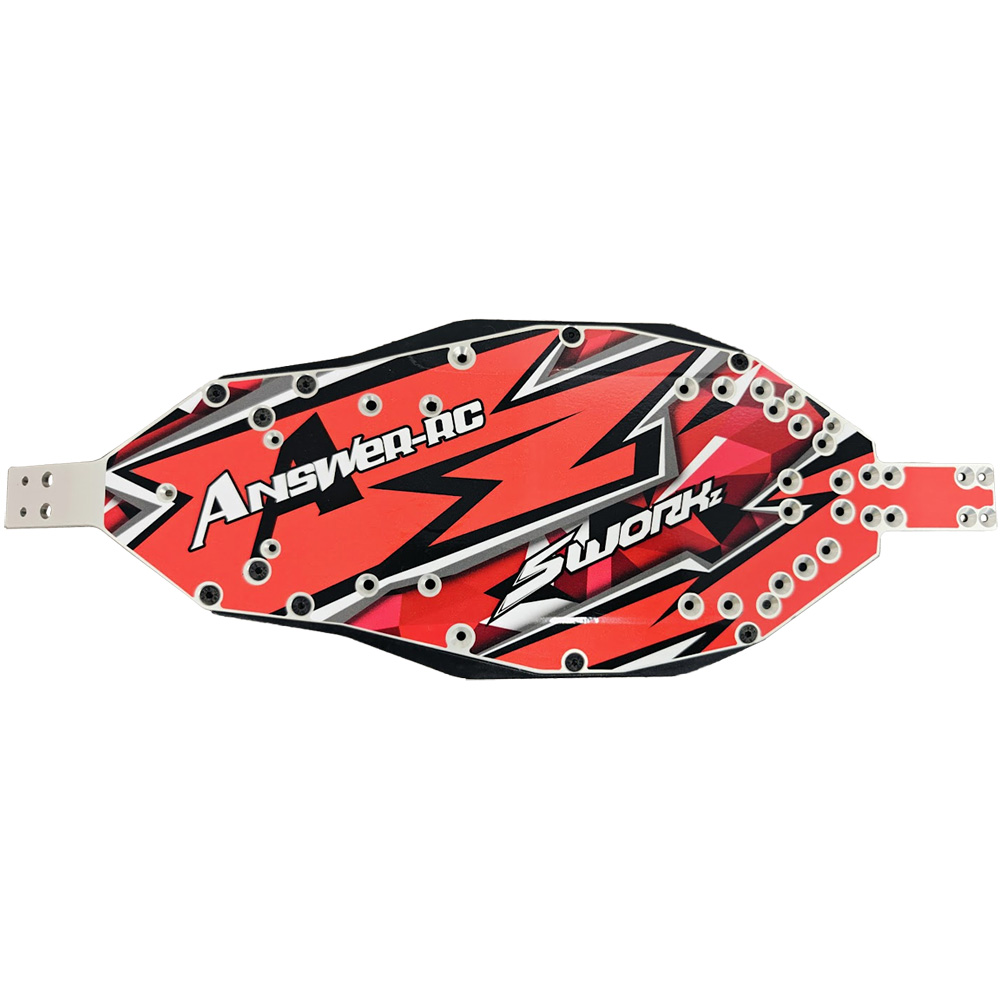
Step 9
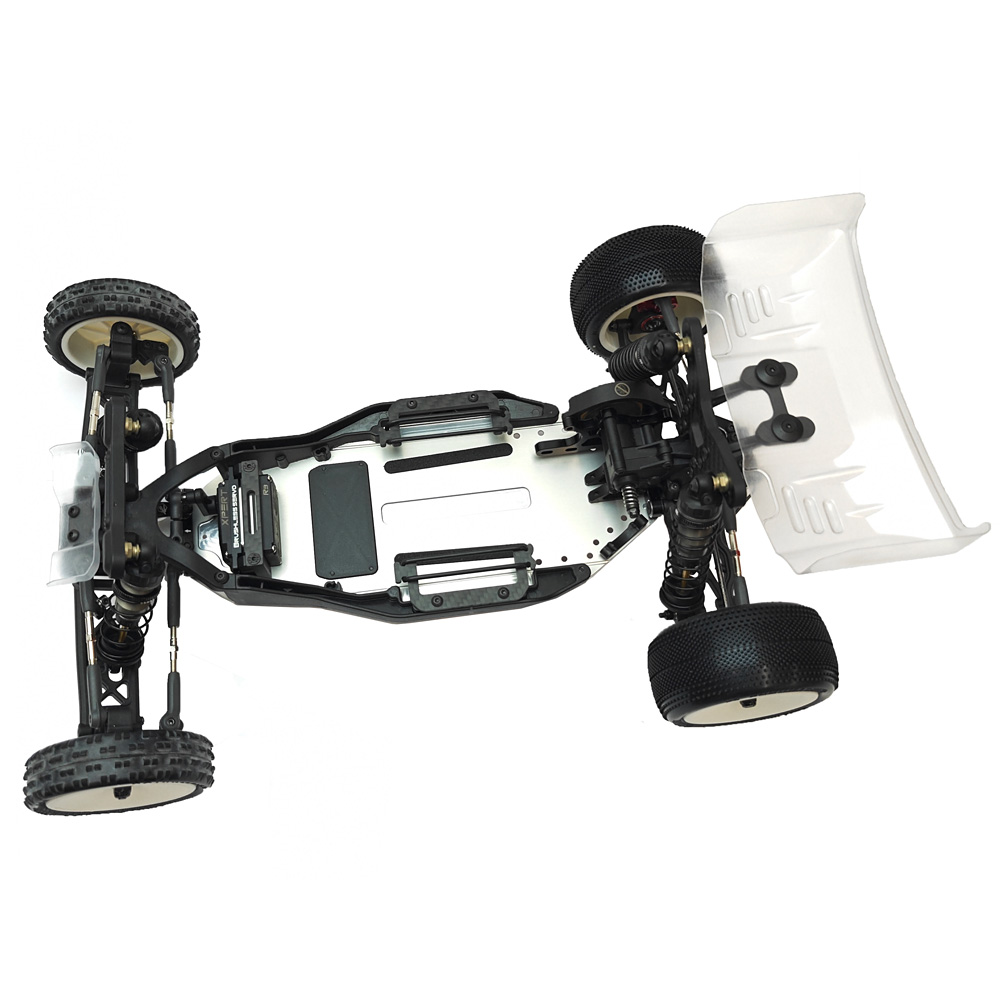
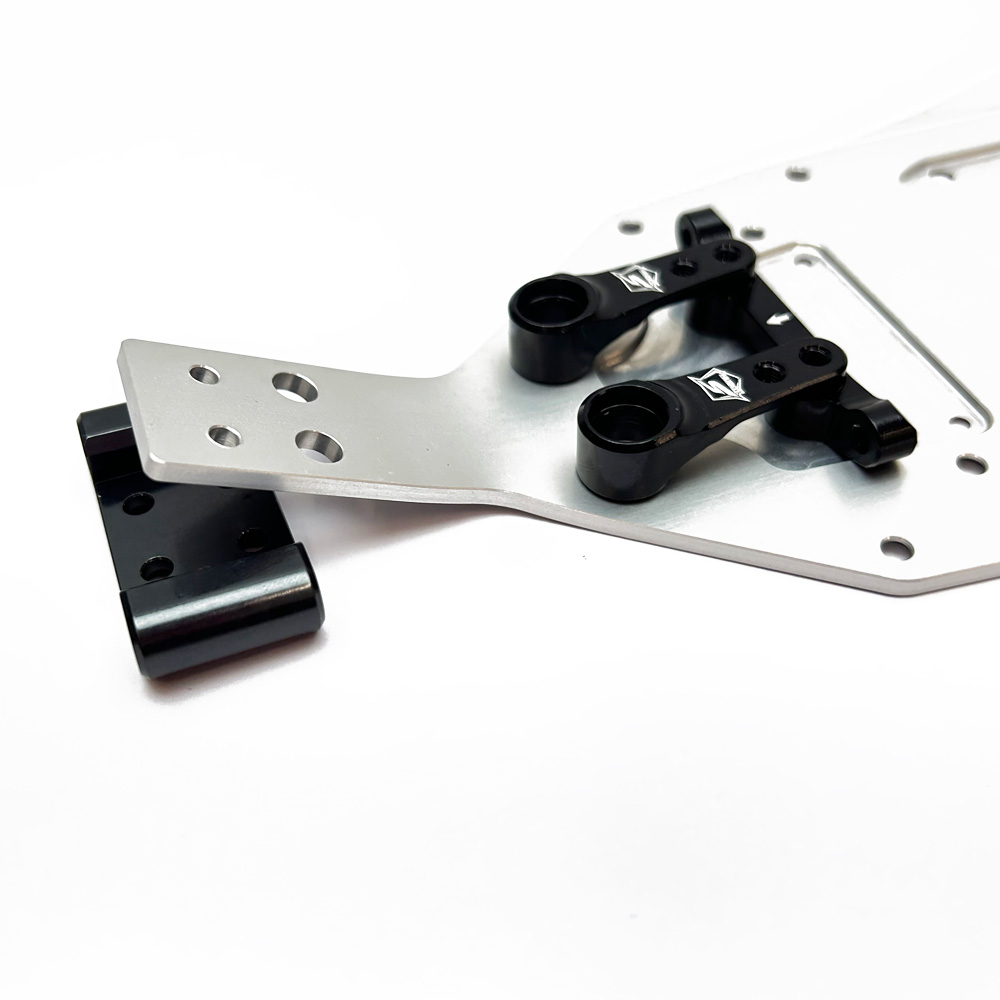
Another BIG change as far as the chassis goes is a change in the coating, which now means the chassis is finished in a more natural silver colour. This new coating is designed to provide more optimal chassis flex for maximum performance. During the build we also slapped on one of our own Answer-RC Chassis Protection skins, which will further help to keep the chassis looking fresh for as long as possible.
Step 11/Step 12/Step 13
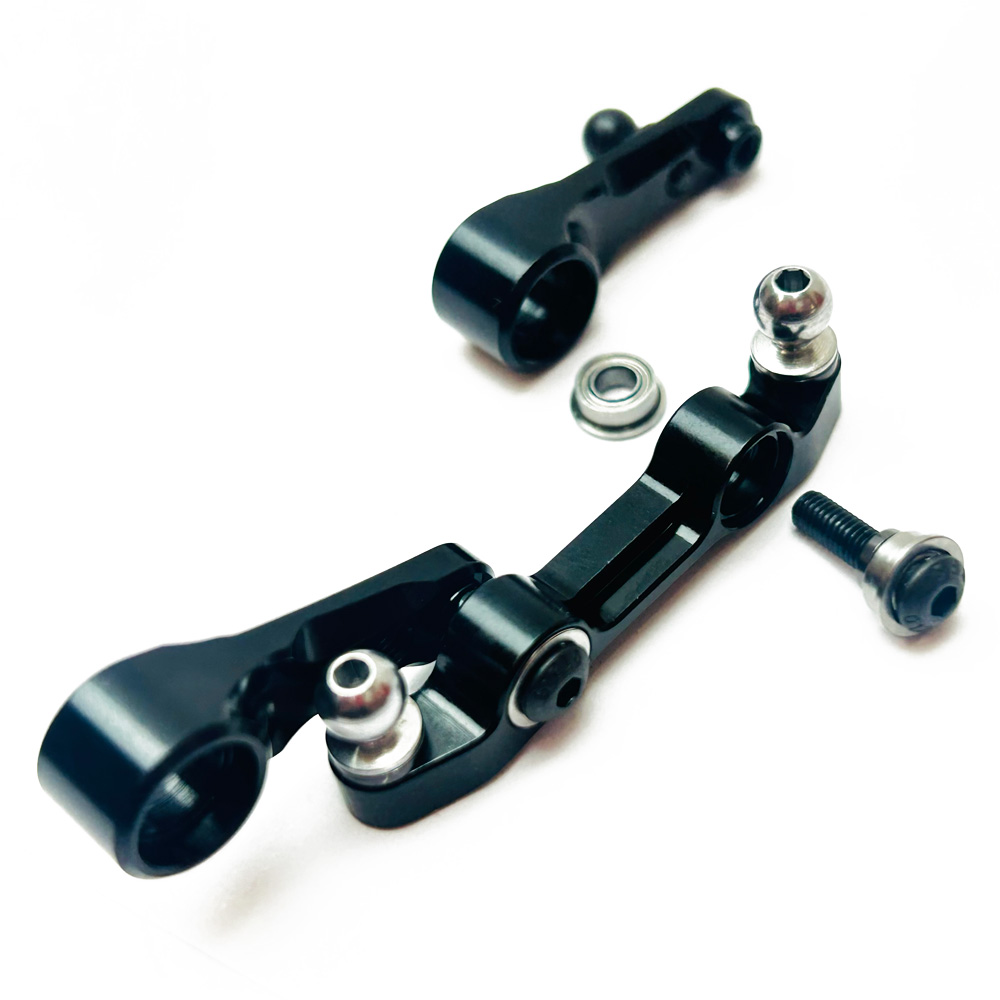
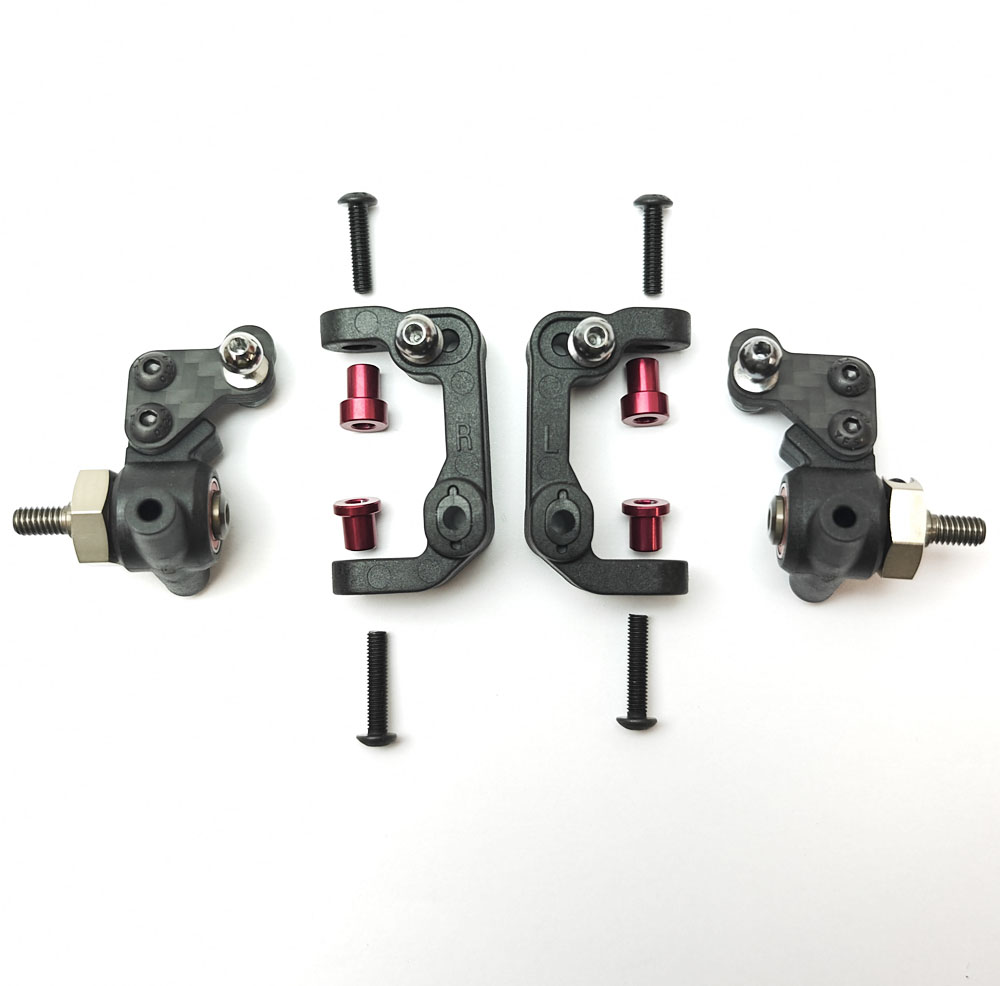
Now more parts that used to be optional are included with aluminium bellcranksand ackerman plate as well as the new aluminium front bulkhead! This was £90 worth of options previously!
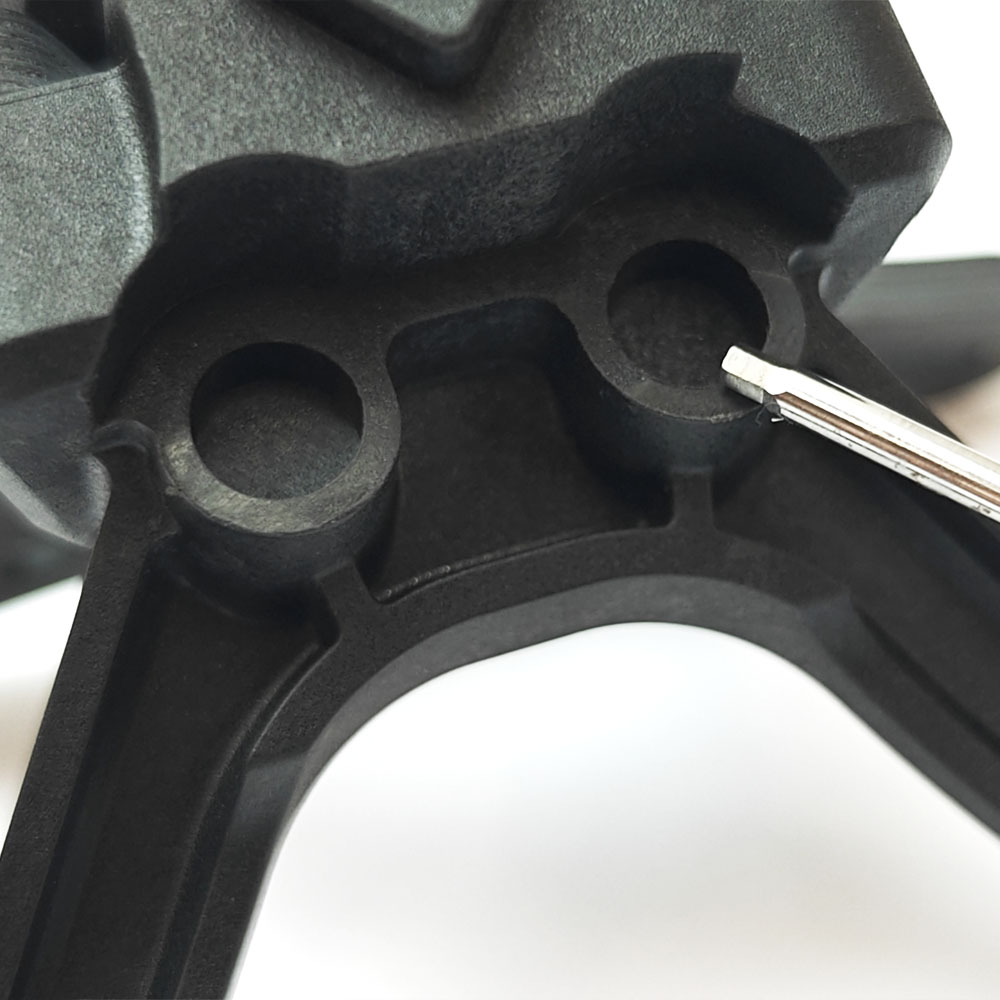
Although the manual doesn’t advise it, as with any metal into metal fixings; you do need to use thread lock on the end of the 2x SW-106002 BH Screws that go through the SW-332067 Steering Plate and into the 2x SW-332068 Steering Arms. It is also easy to over-tighten the screws causing binding on the Steering Arms, but so long as you have enough thread lock on the end of the screw, you can just back the screw off slightly to ensure free movement. Once the thread lock has cured fully, the screws should remain in place even if they are not fully tight. We used the XTR-0316 Medium Grade Thread Lock for the job, which I would say is more a Medium – Hard grade, which worked perfectly for this.
Props to SWORKz here for including both machined aluminium steering parts and a machined aluminium 2.5 degree lower arm holder in the kit as standard, further increasing performance, durability and bling factor! The lower arm holder can be flipped to run +2.5 degrees of kick-up, or -2.5 degrees of kick-up, but there is also an option of 0 degrees sold separately as a tuning option.
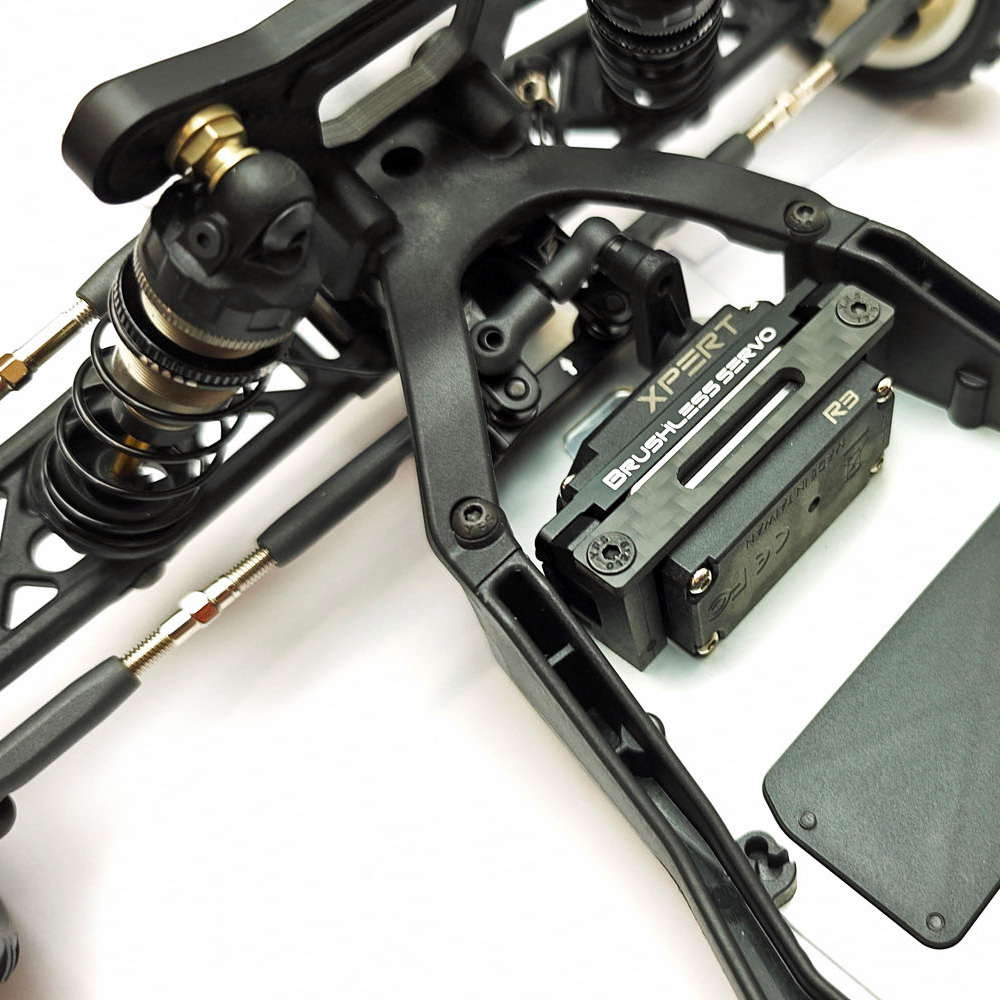
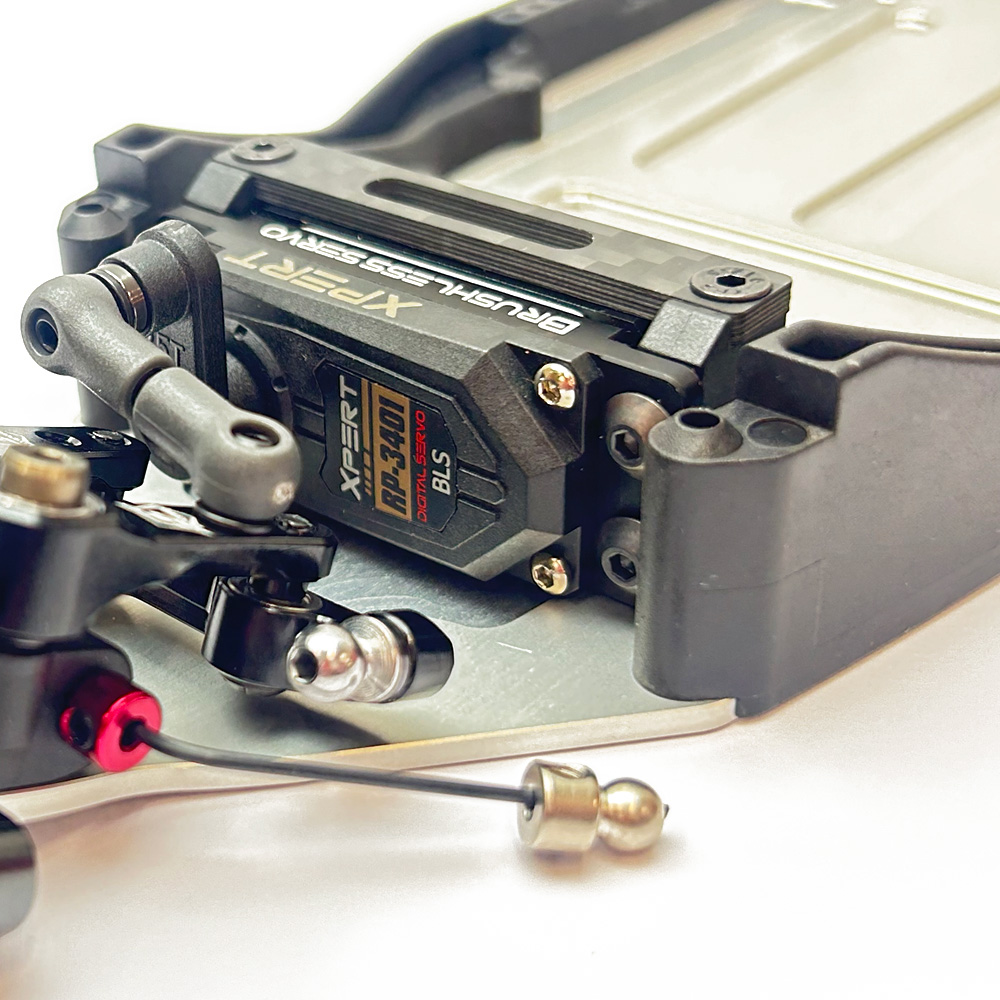
For steering duties, we went with the hugely popular Xpert RP-3401 Low-Profile servo, which has all the speed and torque you could need along with a machined aluminium case and a convenient module cable system for super neat installs.
Step 14
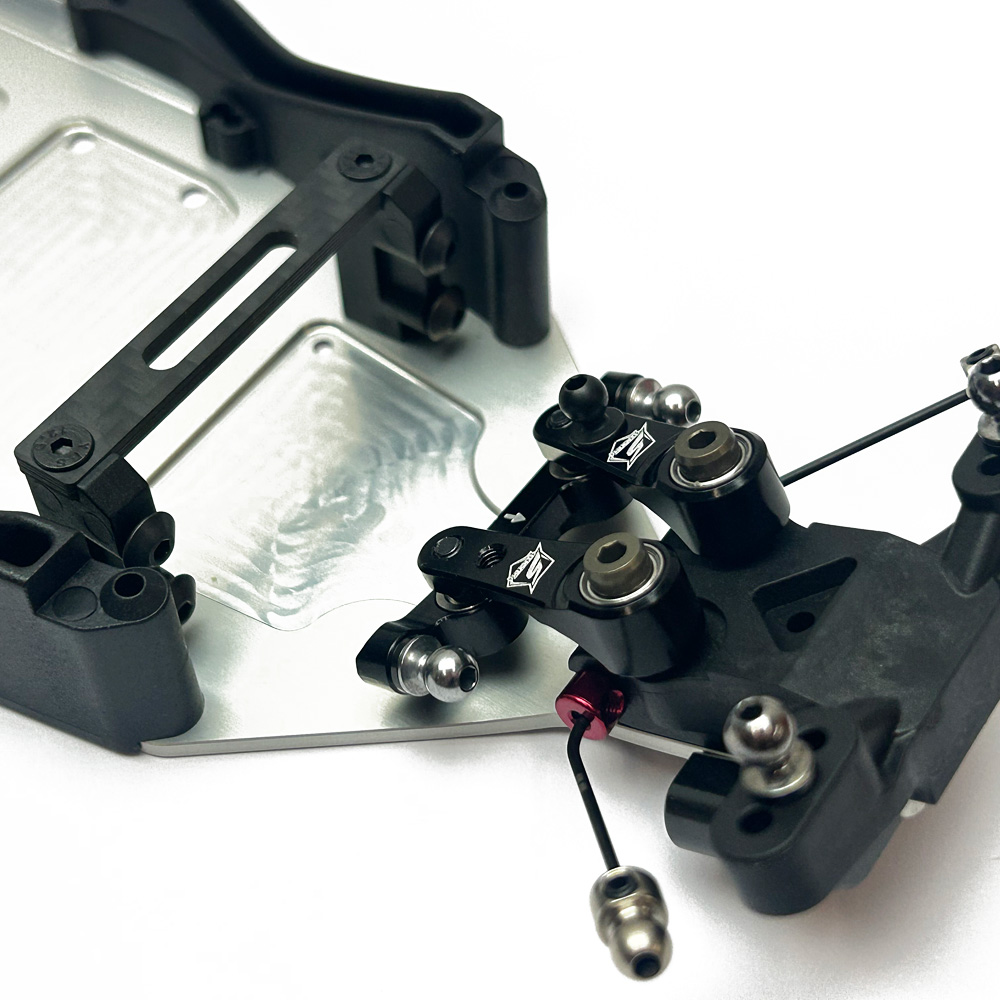
We noticed that after the SW-222007 Upper Plate was installed, the steering did seem to bind slightly. This would naturally wear in as it was such a minimal issue, but to ensure it was super free straight off the bat, we ended up filing a small amount of plastic away from the backside of the upper plate where it locates onto the steering posts, where it originally was came into contact with the steering arms. If you don't do this there is zero issue but a there is no harm in getting this done to make the first run even better!
Step 16
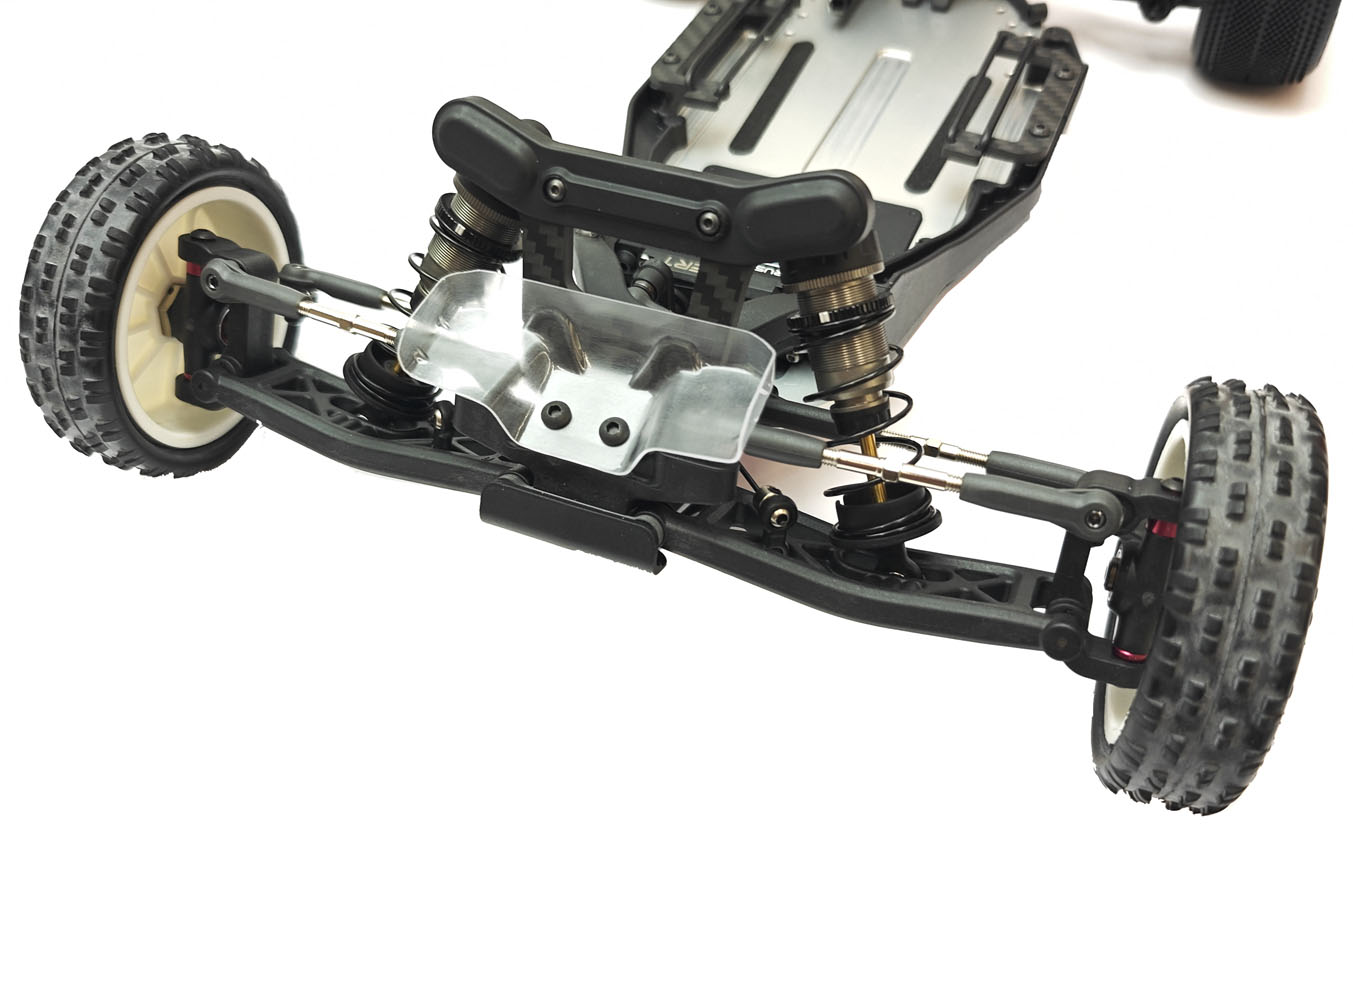
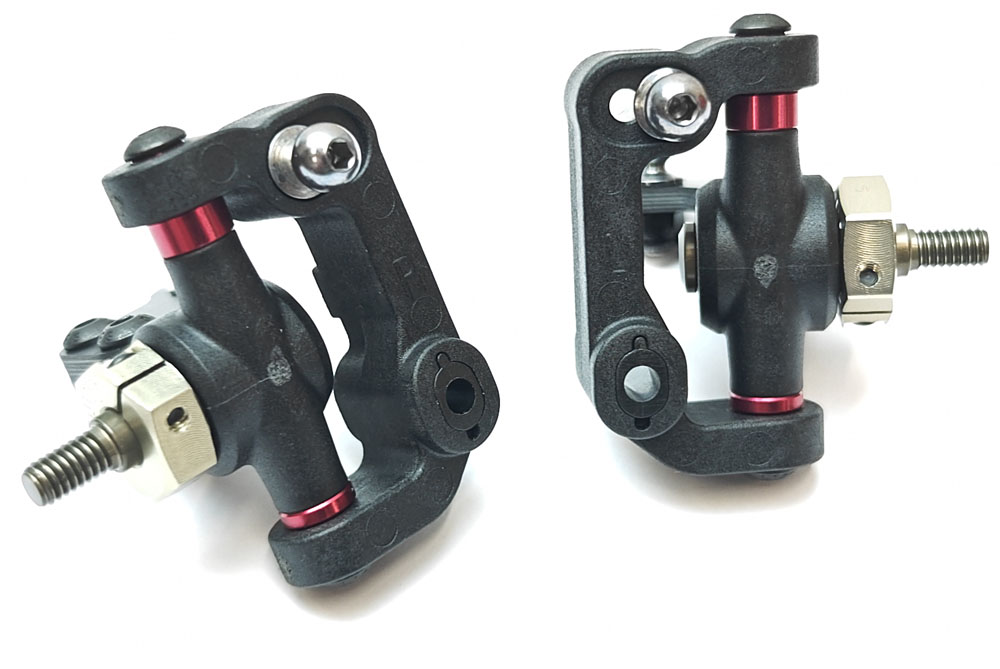
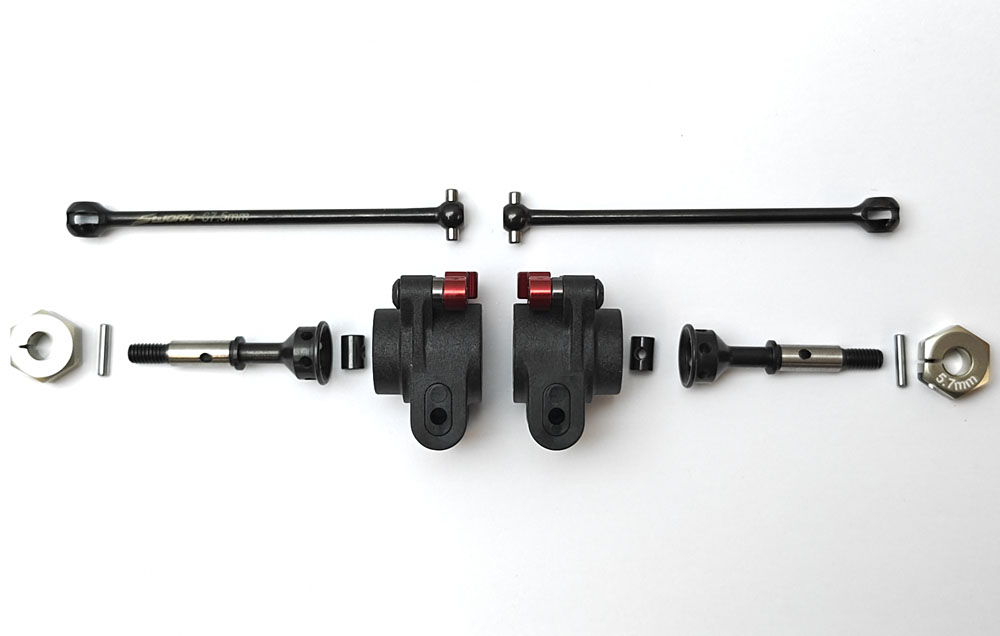
The front hub assembly is largely carried over from the S12-2 platform, but it does feature a revised axle design which now utilises slip-on style drive hex the same as that utilised on the rear, meaning you can easily interchange any of the hexes to alter either front or rear track width.
Step 18
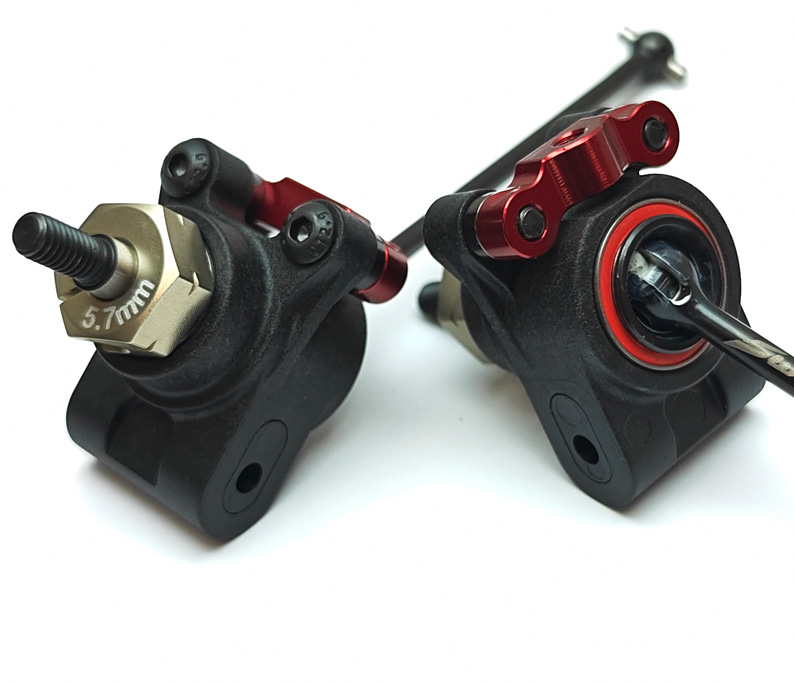
The rear hub carriers feature a revised design incorporating a new CVD axle design which is now fully captured by the hub carrier bearing, eliminating the need for those pesky C-Clips to retain the pin, it’s a small change, but the fact those clips are gone is a big win! We may also be colour biased; but we were also mega excited to see a splash of red on the new linkage plates, the trademark SWORKz colour! More of this please SWORKz! We lubed up the CVD Barrel with some more of the XTR Lithium Grease (XTR-0143) and that was the rear hubs completed.
Step 20
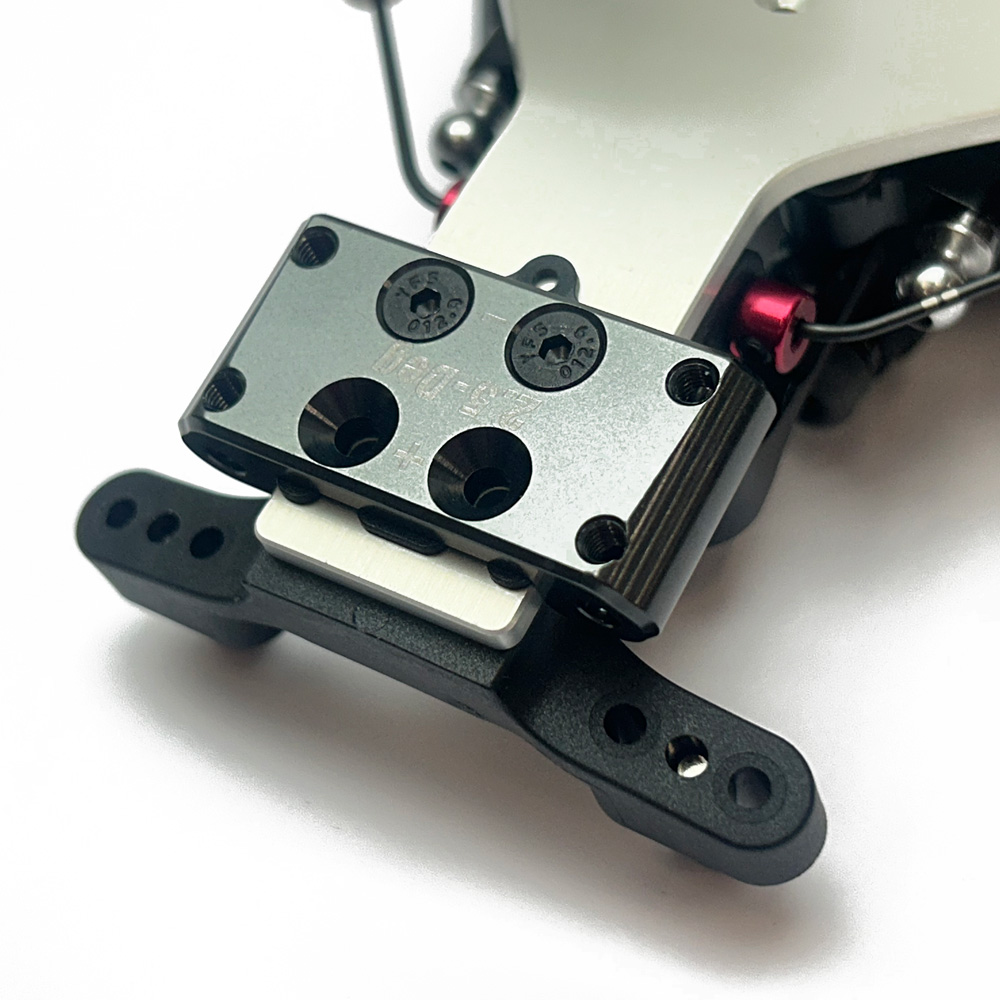
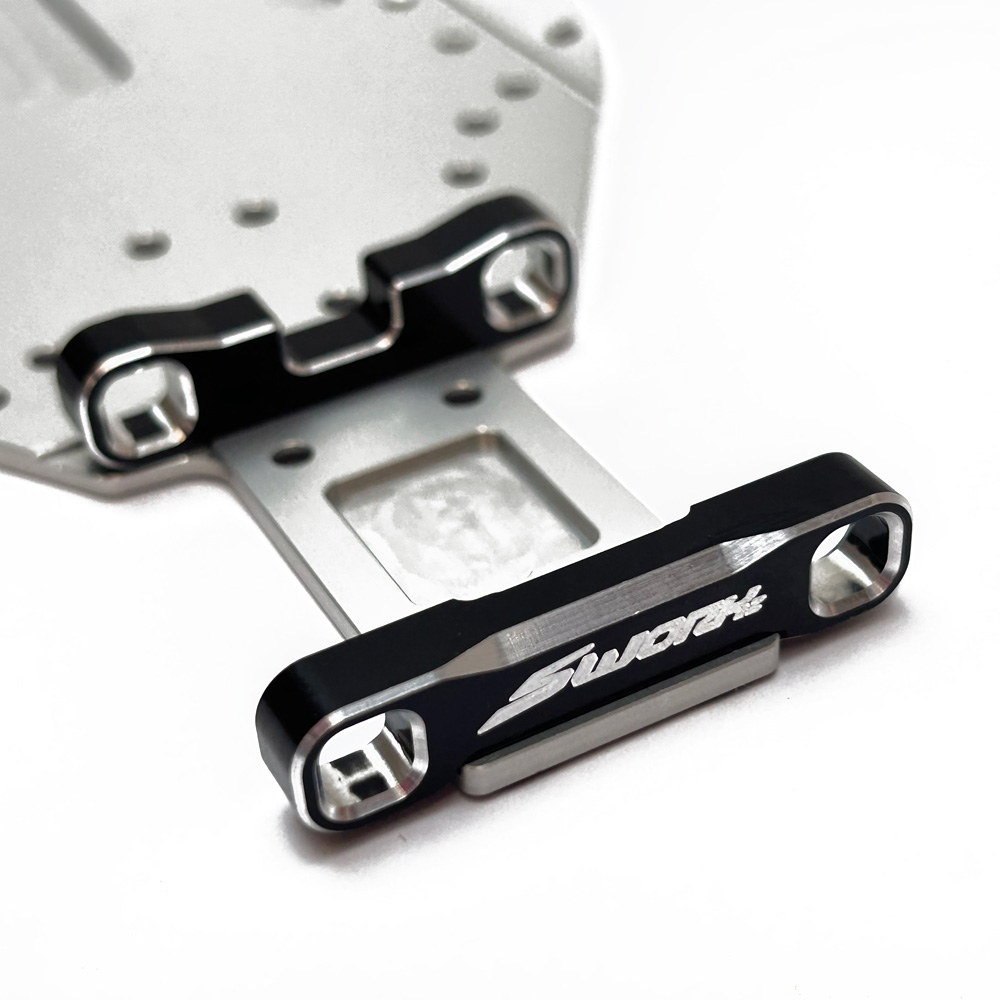
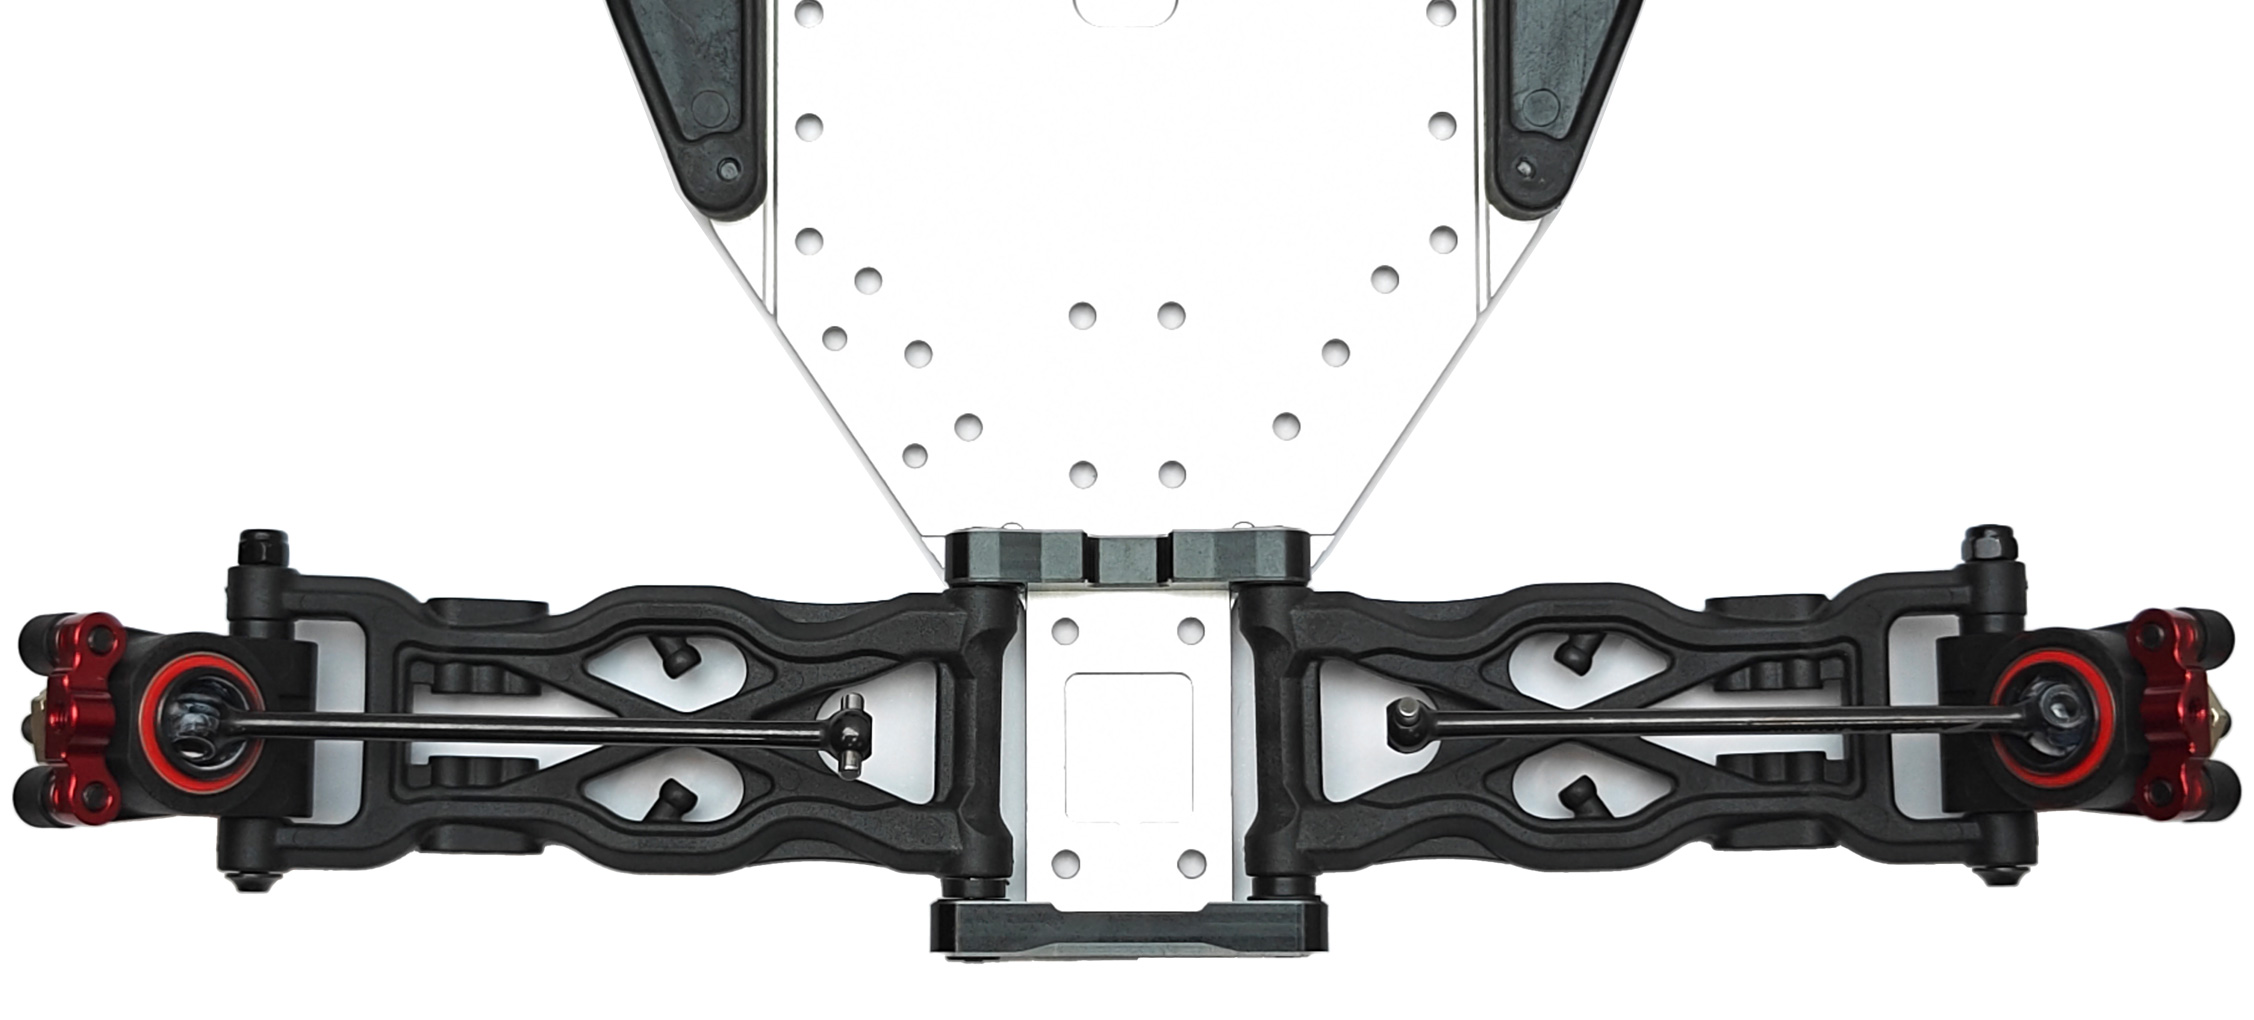
As you would expect these days on any competition 2WD buggy kit, the 'C' and 'D' block (That's the eighth coming out in us!!) are machined aluminium, black anodized and finished with SWORKz logo etching and a nice beveled edge; giving a high-end premium feel. Additionally, these braces feature square eccentric bushings (Pills) for a hugely incremental range of adjustment to toe, anti squat and track width.
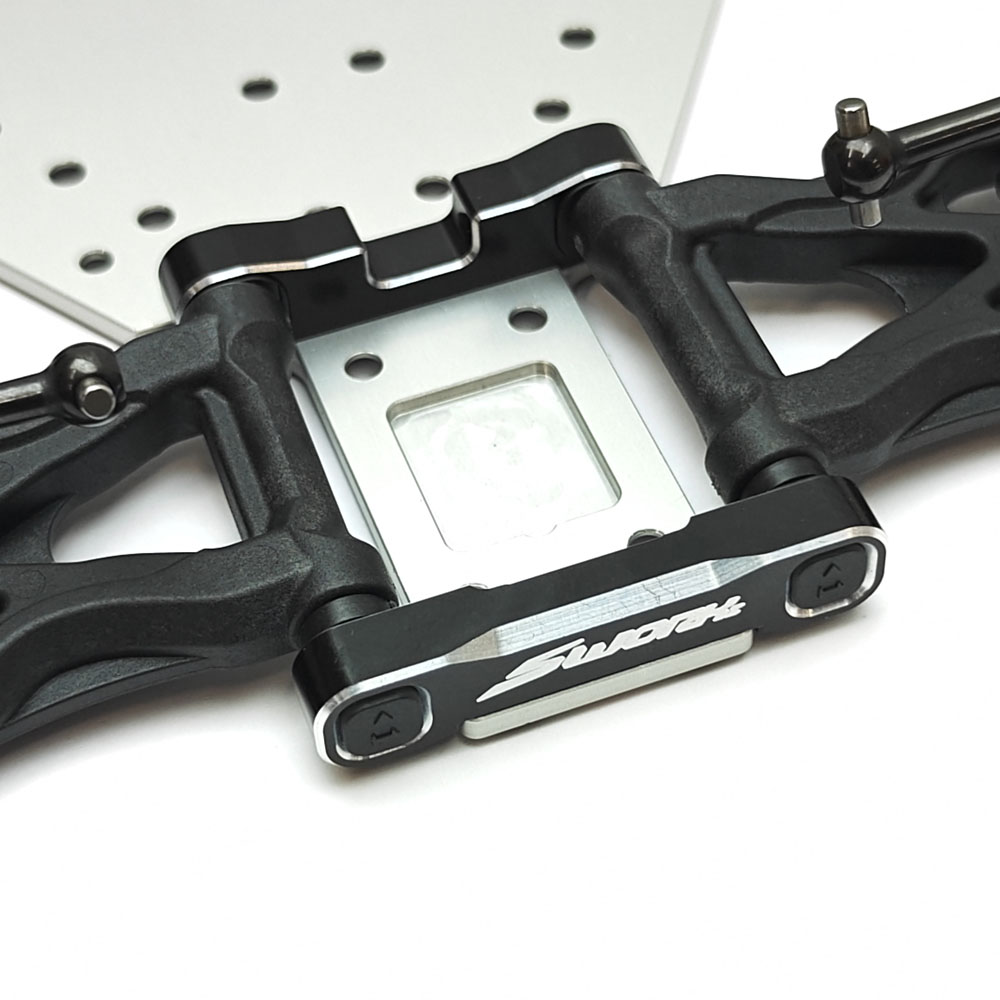
Step 21
When installing the SW220042 rear anti-roll bar bracket, we found the manual suggested SW106001 M3x8 BH screws to be too long and bottomed out into the SW-332063 Rear Upper Linkage Mount, so we substituted these screws for slightly shorter M3x5mm BH screws which we found supplied in the kit. It’s worth noting that that yet again SWORKz have pushed the boat out by including a machined aluminium upper linkage mount as standard, further increasing the value for money stakes with the kit.
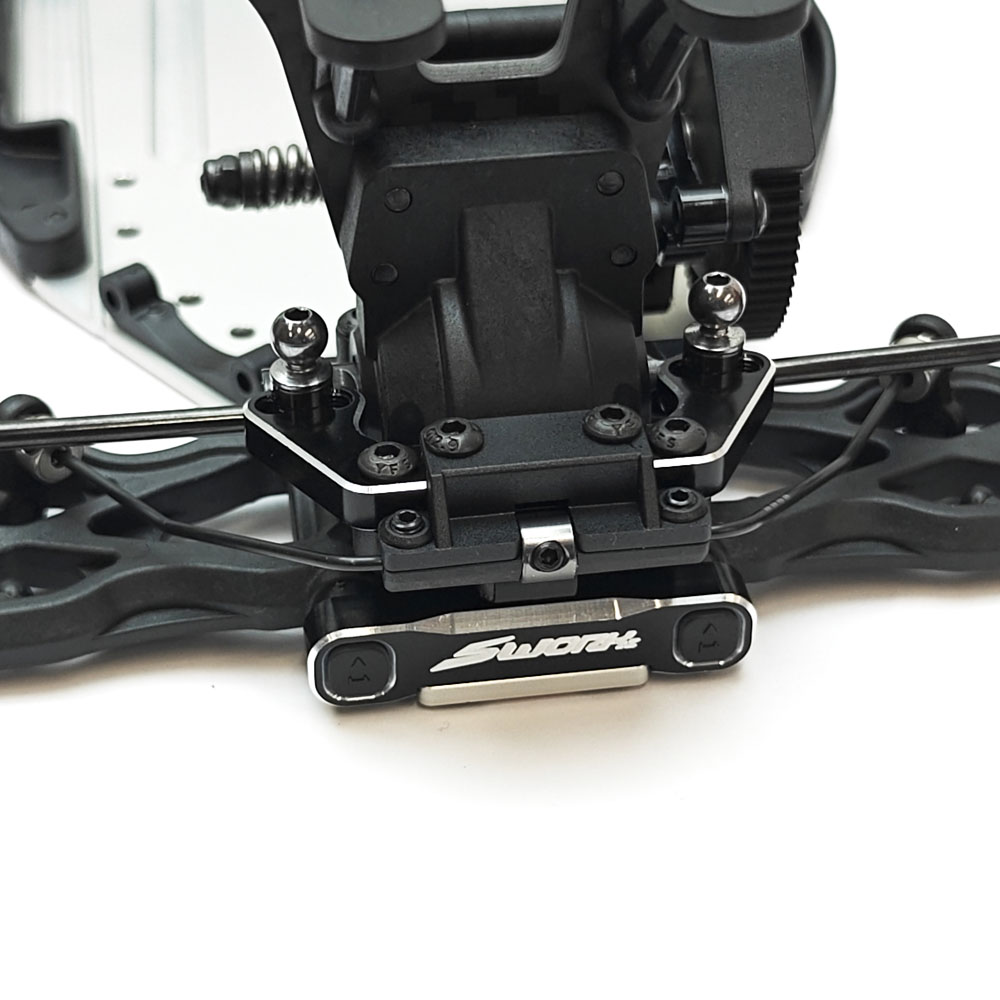
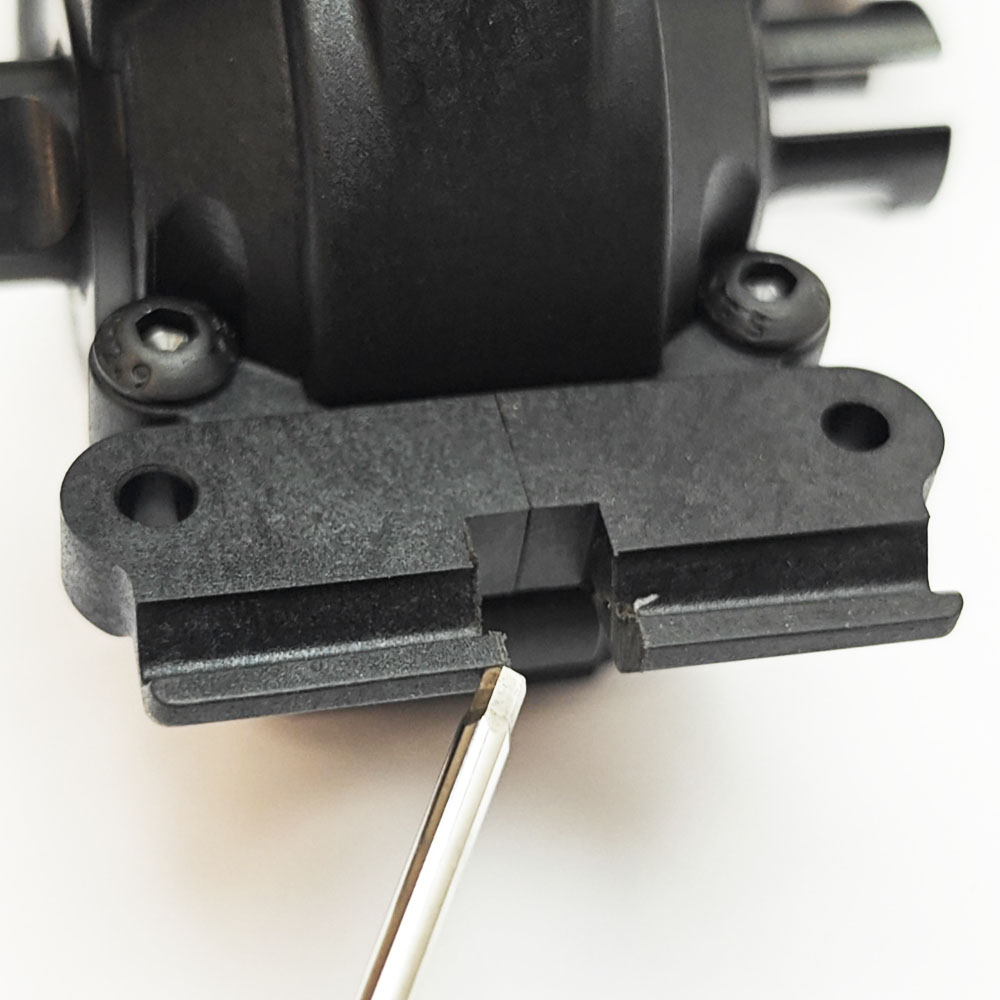
When installing the rear anti-roll bar we did note that the SW-330156A Adjuster Collar was slightly tight in the plastic between the two halves of the SW-220041-MF Gearbox, so we removed a tiny amount of material using a file to ensure the roll bar dropped freely under its own weight when the collar was fully tight.
Step 22
Although not a huge feature, but definitely welcome one is the inclusion of a 25mm compatible fan mount, mounted directly to the chassis. It may be a small detail, but it’s another quality of life improvement by SWORKz which simplifies the build process without the need for additional parts or modification.

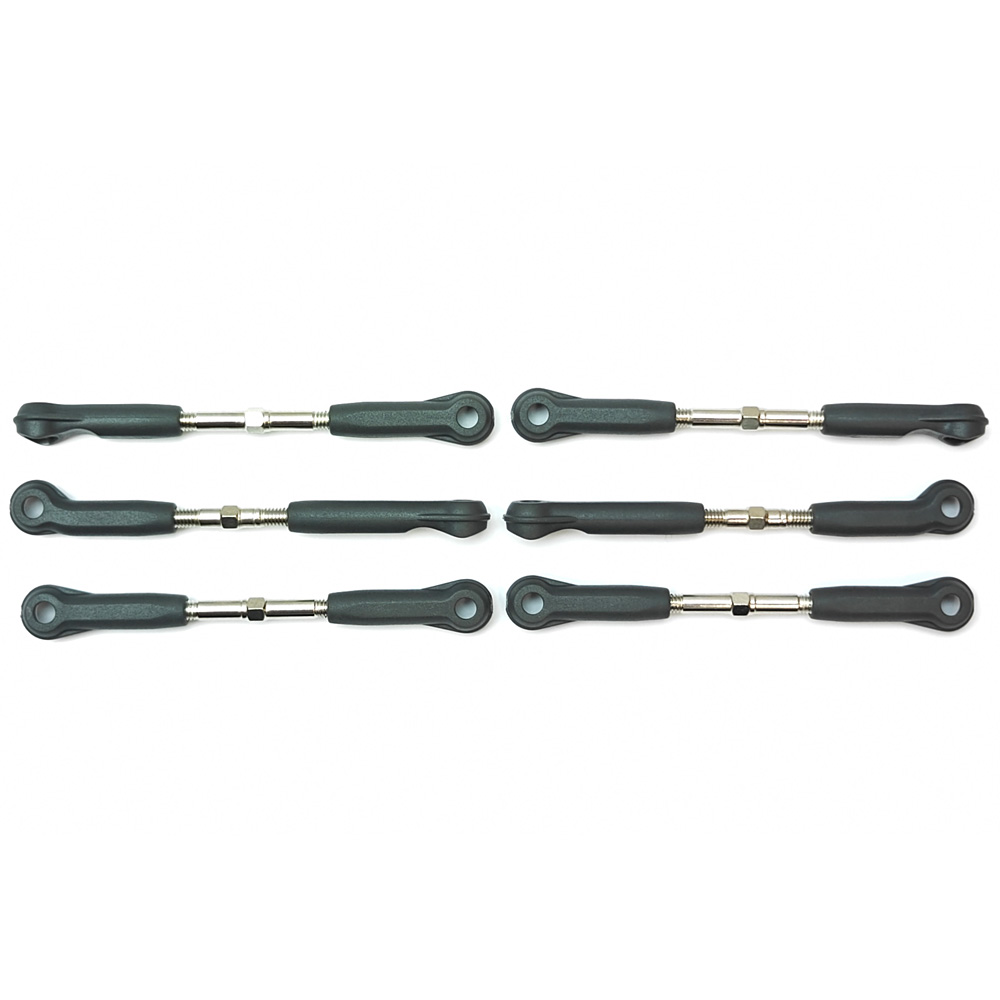
Step 23
Although turnbuckles are usually one of the least fun parts of any kit build, it just HAD to be mentioned that these ones (Although not entirely new) were actually a JOY to build, no pre-threading, no grease, no drill – They just went together and worked the way any turnbuckle should; a testament to SWORKz quality!
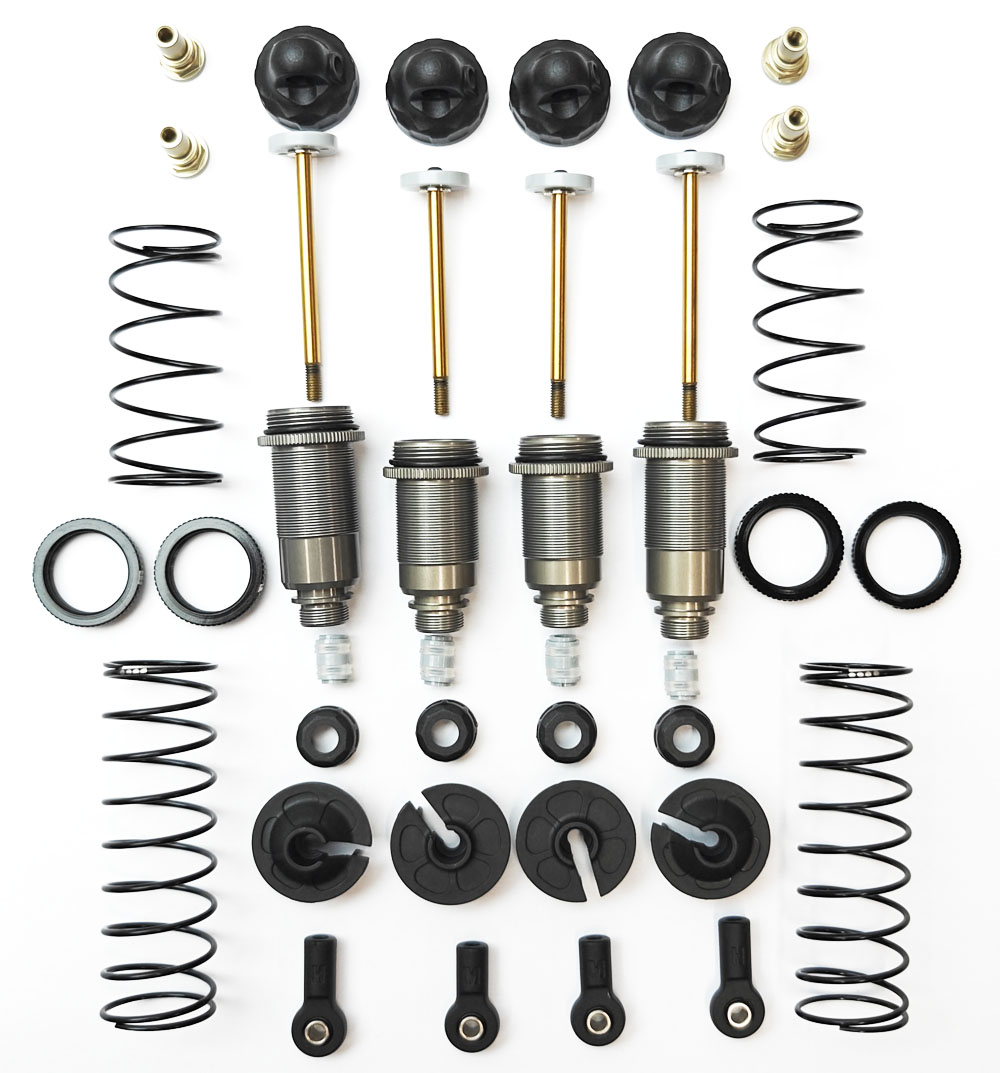
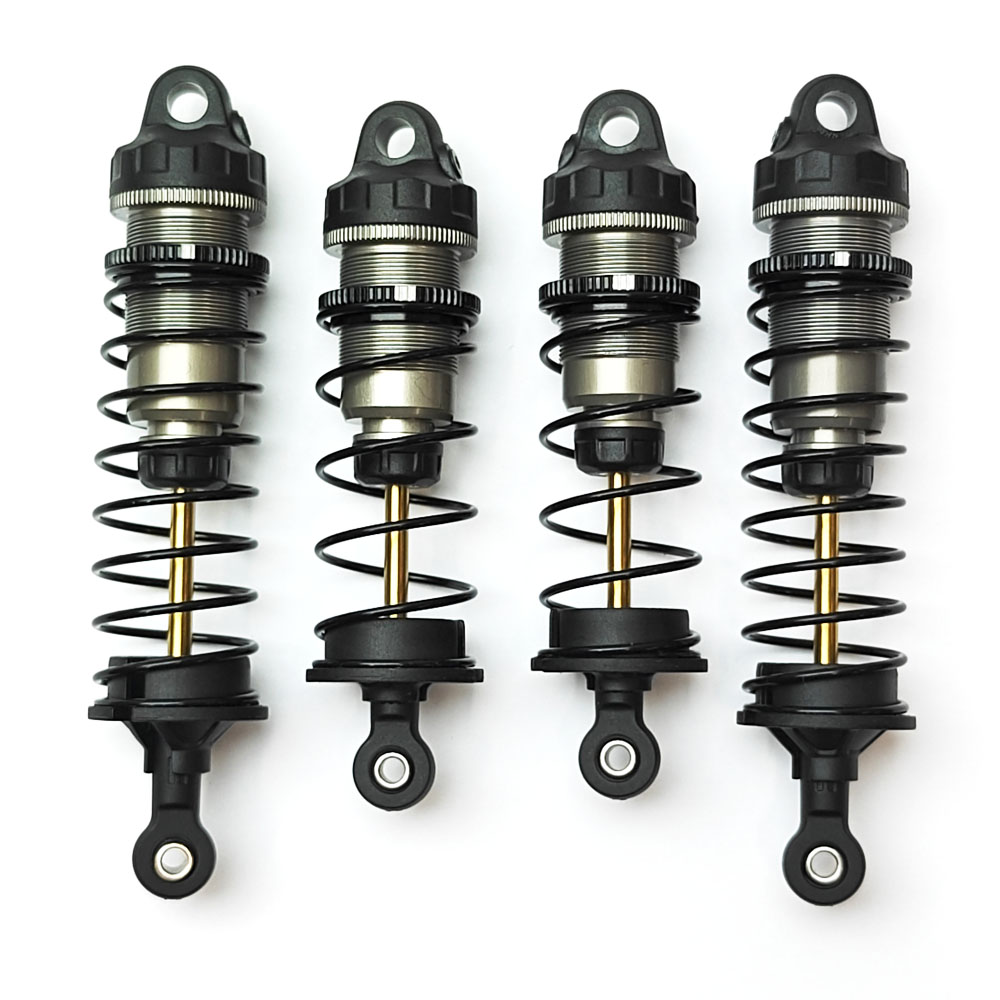
Bag K - Shocks & Shock Tower Protectors
Step 25
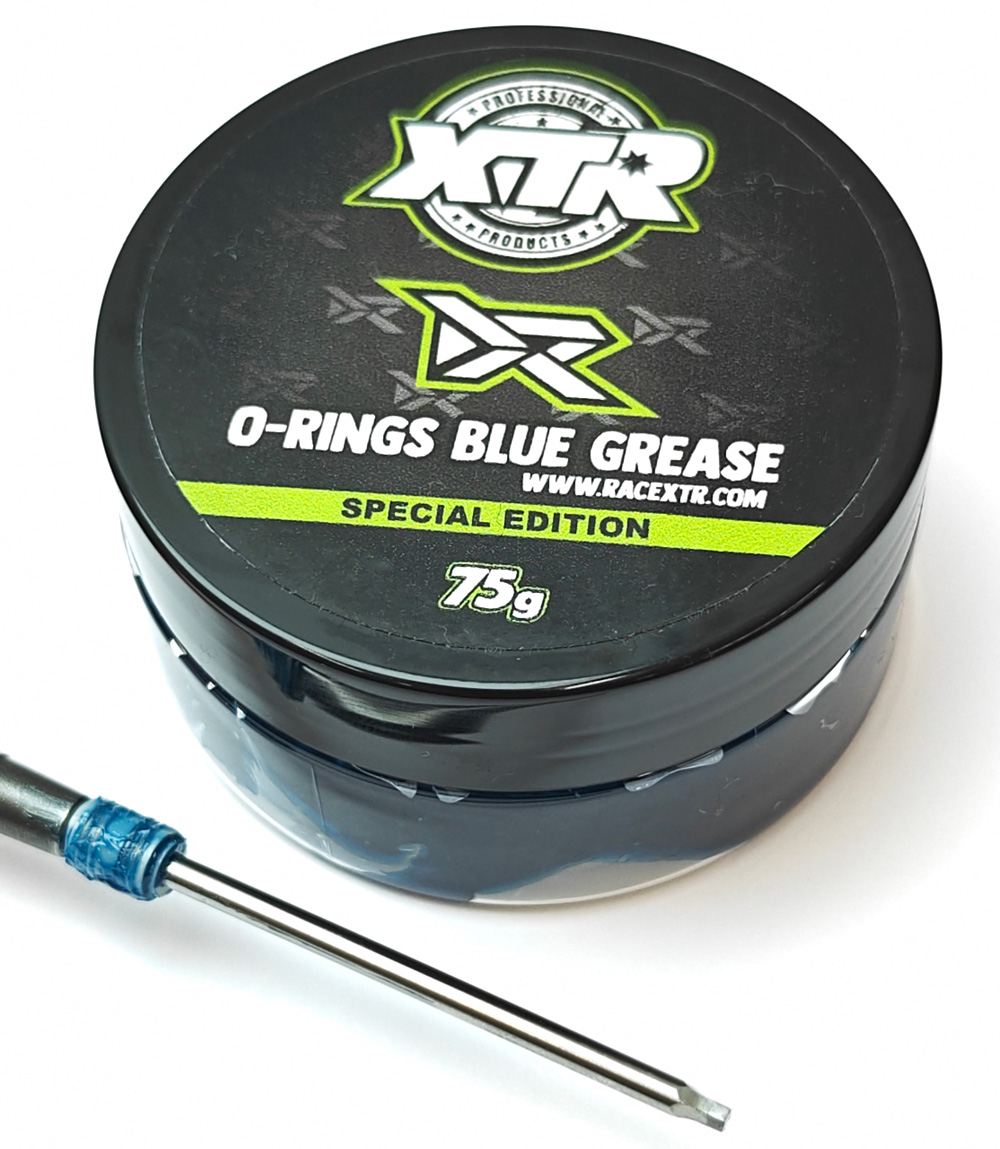
A big change on the new S12-3 is the upgrade from 12mm to 13mm big bore shocks, which although not ground-breaking, these are definitely a big piece to the improvement puzzle on the new car. The shocks built up perfectly and were silky smooth, helped along be the use of the XTR O-Ring Grease (XTR-0142) which was used during assembly. We built the shocks with the kit supplied pistons, but did use slightly thinner oil than the 500CPS supplied in the kit; XTR 475CPS Front and XTR 400CPS Rear as a starting point. The shocks also come supplied with 3x different height spring retainer cups, allowing you to tune the ride height for all track conditions.
| Reference | Description | Rating | Note |
| Front Springs | |||
| SW112004-5 | SWORKz 1/10 BBS Big Bore Front Shock Spring-AS5 (44X1.2X6.75) | Hard | Standard Carpet |
| SW112004-3 | SWORKz 1/10 BBS Big Bore Front Shock Spring-AS3 (44X1.2X6.25) | Soft | Standard Dirt |
| Rear Springs | |||
| SW112005-4 | SWORKz 1/10 BBS Big Bore Rear Shock Spring-AL4 (61X1.2X10.5) | Hard | Standard Carpet |
| SW112005-3 | SWORKz 1/10 BBS Big Bore Rear Shock Spring-AL3 (61X1.2X10.75) | Medium | |
| SW112005-2 | SWORKz 1/10 BBS Big Bore Rear Shock Spring-AL2 (61X1.2X11.0) | Soft | Standard Dirt |
Step 29
This step is basically for shock installation, but more notably also the new plastic moulded front and rear shock tower covers, which fit especially well and do a great job at protecting the racing surface along with potentially improving durability. It’s great to now have these spec’d as part of the standard kit, avoiding the need to buy separately or 3D print your own.

Bag E - (Back to that bag) - Battery Mounting
Like us; you are probably wondering why you had these bits left over from the humongous Bag E, and why after completing Bag K you are now back to Bag E again in the manual.. Yeah, this is not an ideal build process SWORKz! But, in any case it does work itself out in the end.
The S12-3 now includes adjustable carbon fibre battery brackets, which previously were an option on the S12-2 series, so these were a welcome inclusion and feature a broad range of battery positioning with the 5x fixed positions Front to Back. The battery is then secured with O-Rings for quick and easy battery installation.
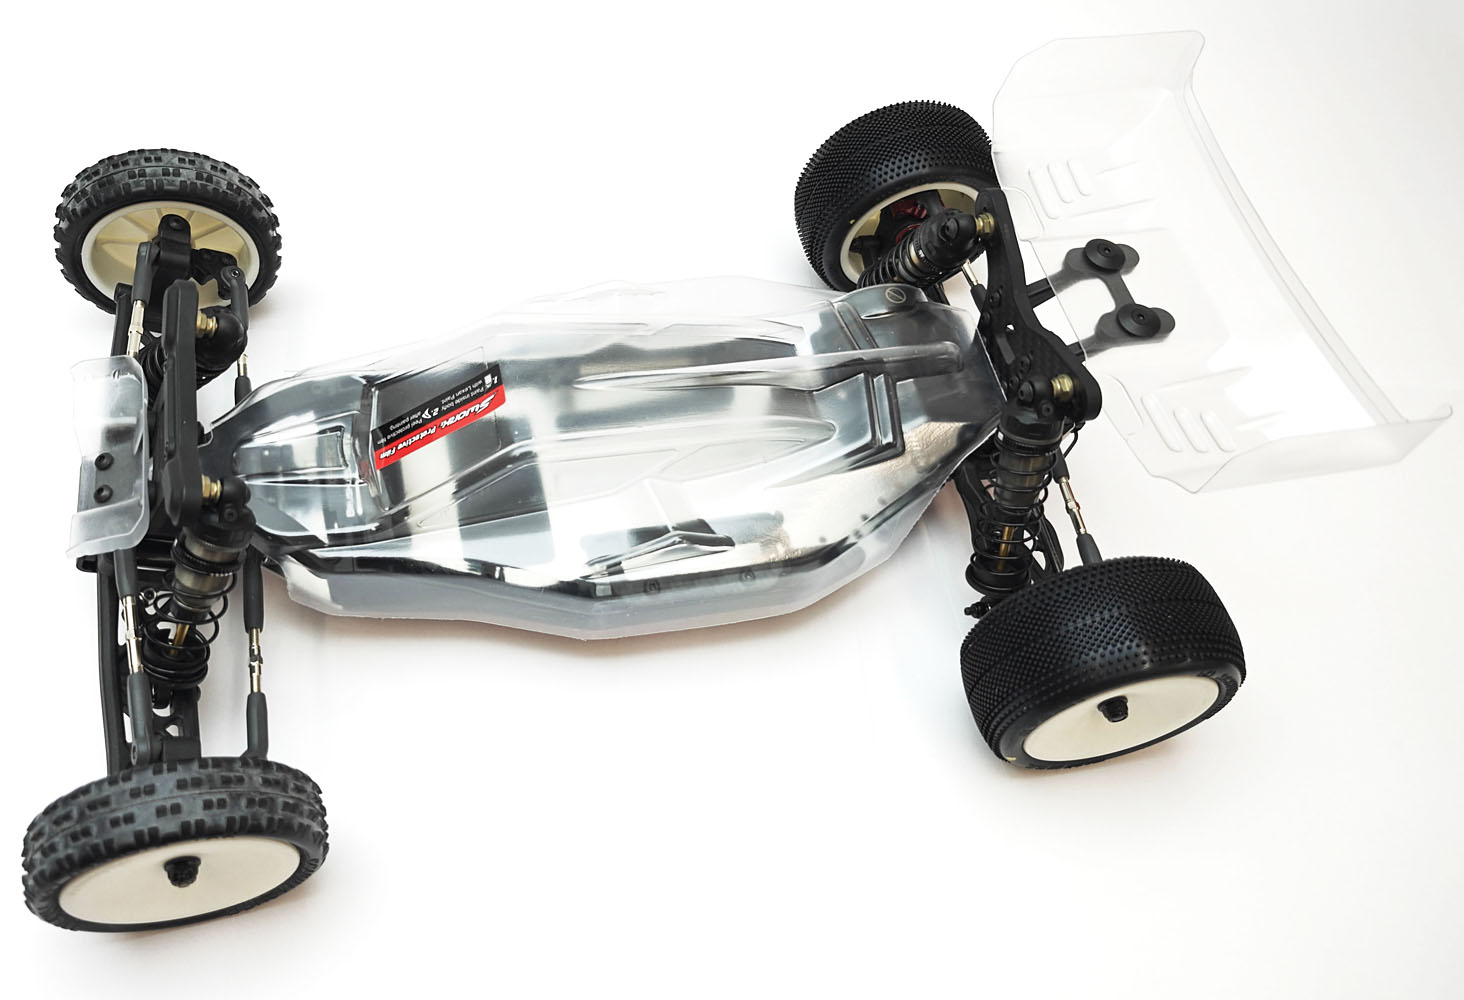
Bag L - Bodyshell & Wings
This final step includes preparing, painting, and mounting the polycarbonate body and wings, of which it was great to see the body was supplied pre-cut and furthermore fitted the chassis perfectly! All that was needed to do in this step for us at least was to cut out and mount the front and rear wings, as we wouldn't be throwing any paint on our body just yet. The time will come.